
Automating Tests with Selenium #1: Getting Started
Hello everyone! Welcome to the first article of Automating Tests with Selenium, a series where I will cover basic concepts and examples of automated testing with Selenium and Node.js. An intermediate knowledge of Node.js is recommended to follow along.
In this part, let's set up a simple project and learn basic browser automation with Selenium! Before we get started, let's learn what exactly is Selenium
What's Selenium?
As concisely stated in their website, Selenium is a tool that allows you to automate browsers.

By automating browsers, we are able to do many things such as:
- Create robust, browser-based regression automation suites
- Test, scale and distribute scripts across many environments
- Create quick bug reproduction scripts
- Create scripts to aid in automation-aided exploratory testing
- Run tests against a vast combination of browsers/OS
- Automate mundane, repetitive web-based tasks
If these are some things you would like to accomplish for your project, then learning Selenium will be very useful for you.
Prerequisites
- Node and npm installed
- Good knowledge of JavaScript
- An IDE (i.e. VS Code) installed
Step 1: Initialize an npm project
First, let us create a project folder and initialize an npm project in it.
npm init
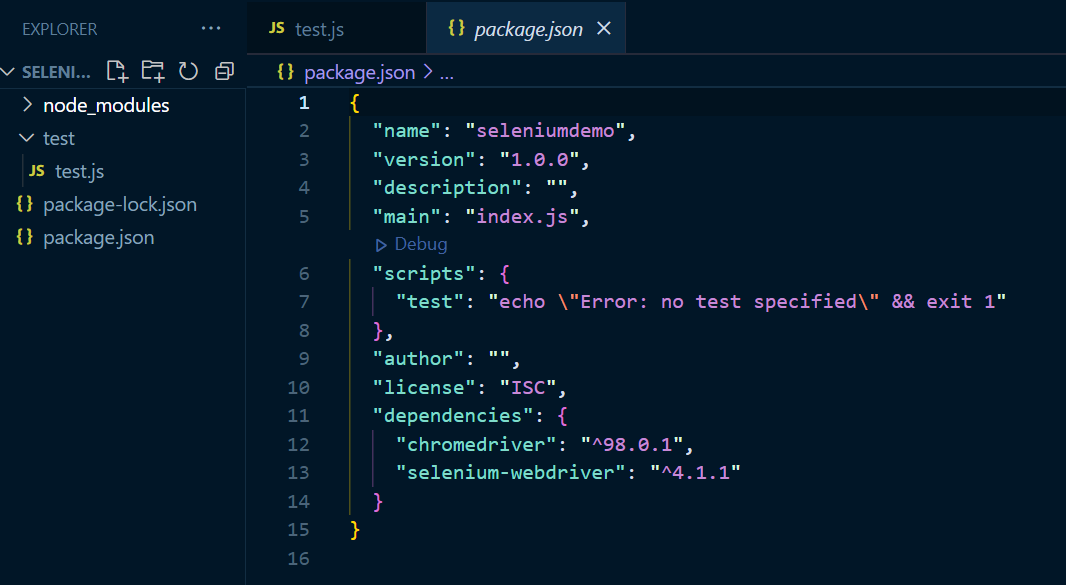
Step 2: Install npm packages and driver
For this tutorial, let's install these 2 npm packages:
selenium-webdriver: package which we will use with Node.js to write our scriptschromedriver: package to allow Selenium to automate on Chrome browsers
npm install selenium-webdriver chromedriver
In this series, I will be using Chrome as the browser to automate. You are free to download the browser driver of your choice and follow along.
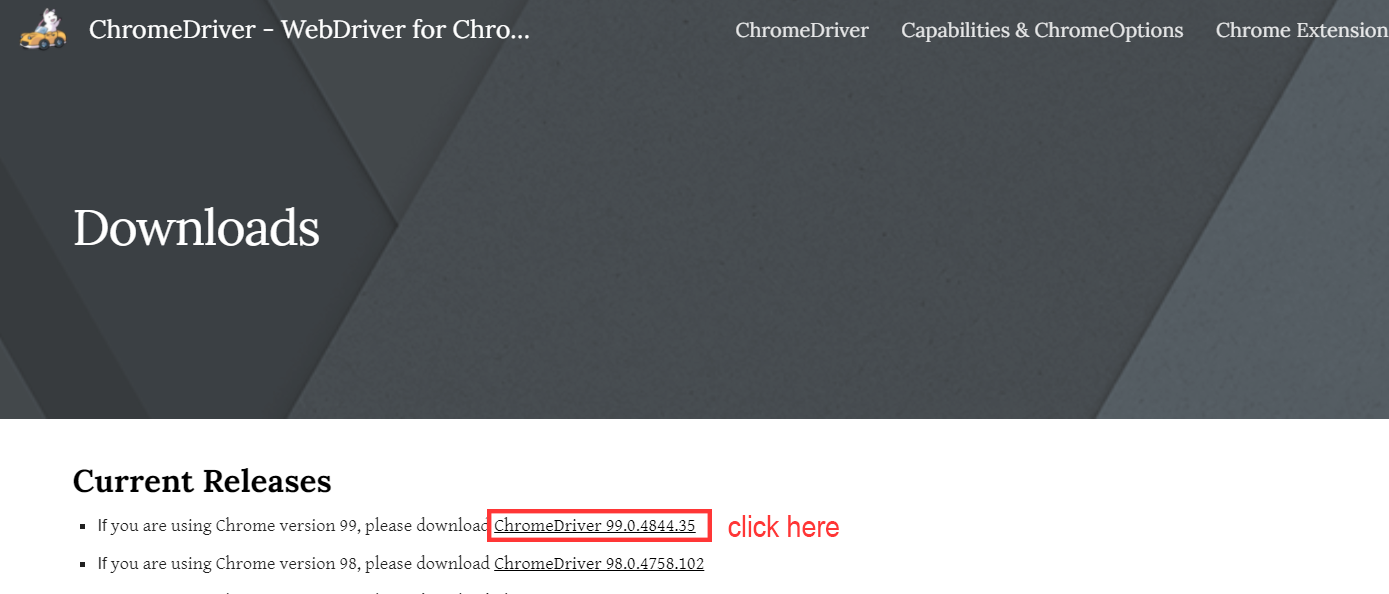
Go to https://chromedriver.chromium.org/downloads to install the latest chrome driver
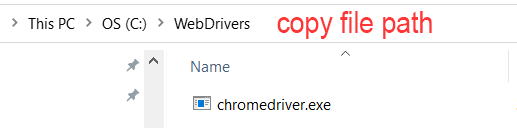
Unzip the folder and copy the chromedriver.exe file to any folder you want. Copy its file path.
Finally, add it as a new system variable in PATH.
Here's a simple guide to follow if you're not sure how to add a PATH variable.
Step 3: Create your first test
Create a folder called "test" and a "test.js" file inside it.
Now let's automate a very simple flow using Selenium:
- Open a Chrome browser window
- Go to 'https://www.google.com'
- Input "webdriver" as a search term
- Press 'ENTER' to search
- Close the browser
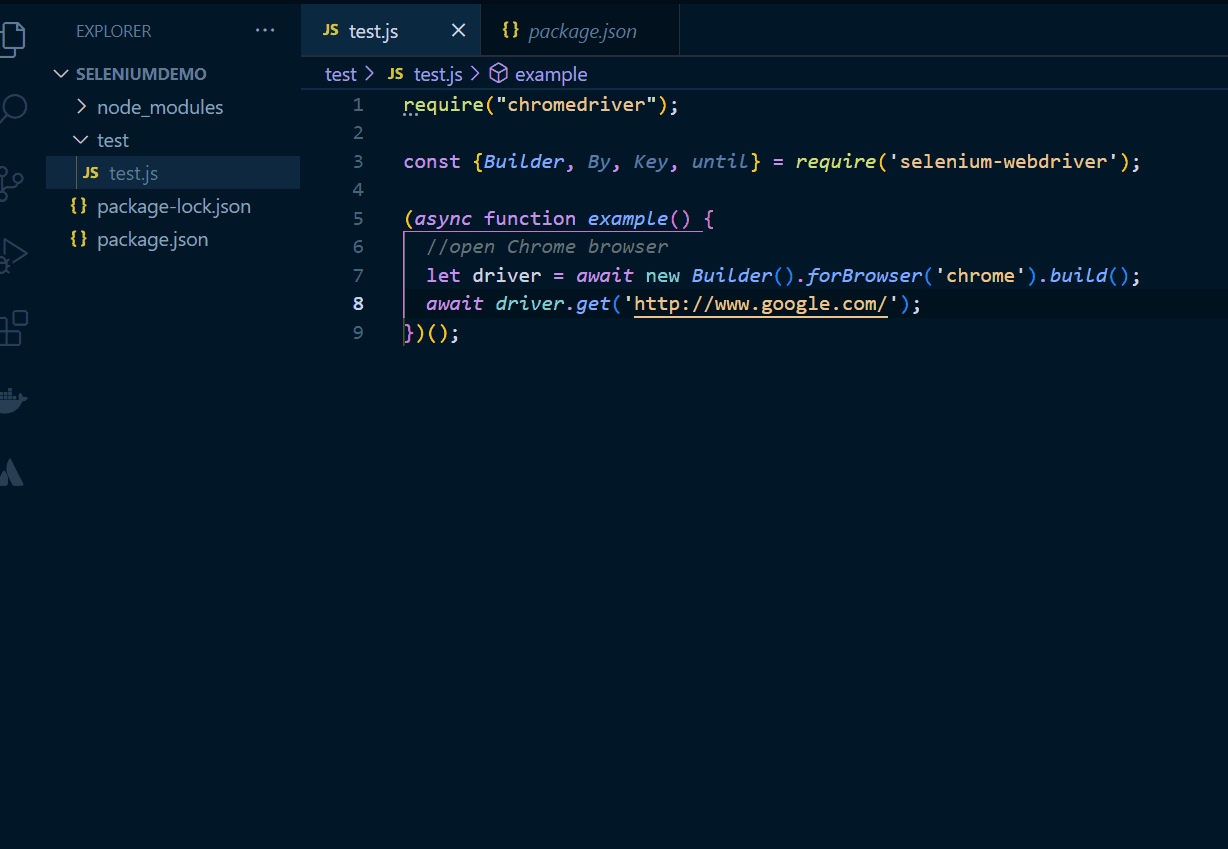
In test.js, let's import the packages we installed.
//import chromedriver in order for Selenium to open a Chrome browser by itself
require("chromedriver");

//import the following classes from Selenium
const {Builder, By, Key, until} = require('selenium-webdriver');
1. Open a Chrome browser window
Next, we will first create an async function called example and use the Builder class to instantiate a new web driver to open a Chrome browser.
async function example() {
  //open Chrome browser
  let driver = await new Builder().forBrowser('chrome').build();
}
2. Go to Google's website
Once the browser is opened, we want it to automatically go to a specific website. For this example, let's make it go to Google.
async function example() {
  //open Chrome browser
  let driver = await new Builder().forBrowser('chrome').build();

  //go to Google's website
  await driver.get('http://www.google.com/');
}

example(); //call the function
At this point, we would have a script that automatically opens Chrome and goes to Google's website. Nice! Let's try running it with the command:
node test/test.js
Here's what we should get:
3. Input a search term
Now, let's automate inputting a search word into the search box. To do that, we need to know the DOM element of the input. A simple inspection will show that the name attribute is 'q'. So we can use this information to get this DOM element.
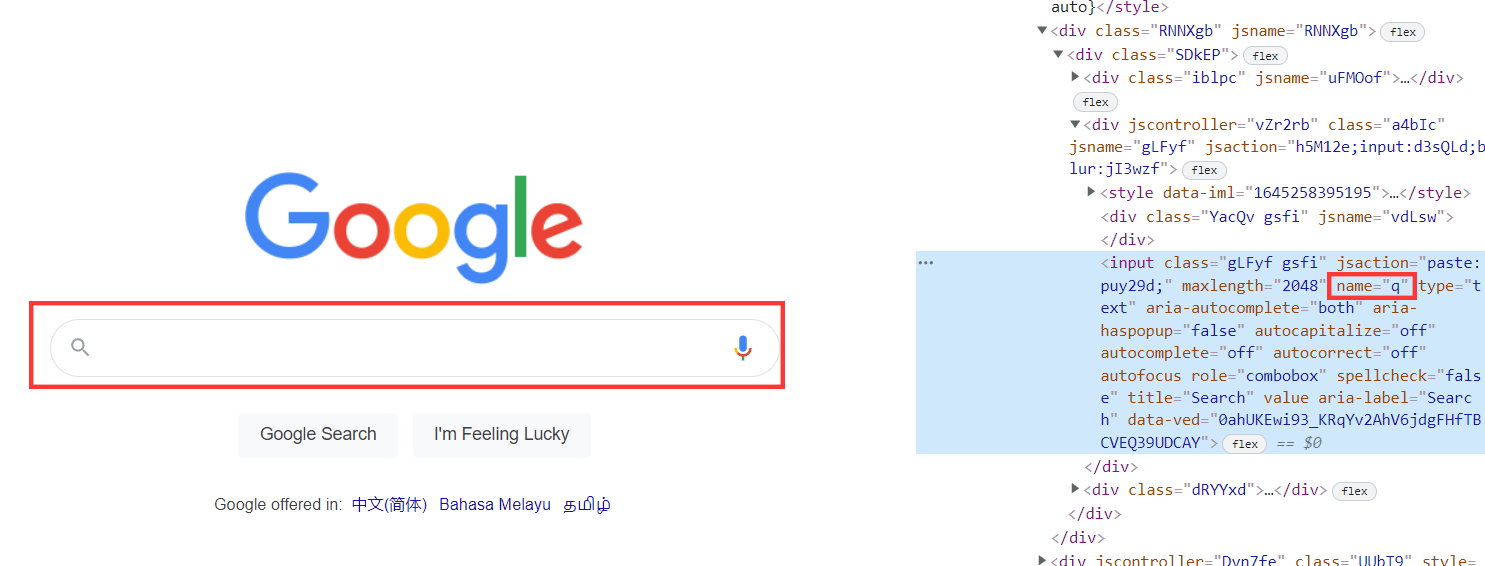
The By class from Selenium allows us to get the DOM element on the page. In our case, we want to get a DOM element with the name = 'q', so it will be written as follows:
// get search box DOM element with name = 'q'
driver.findElement(By.name('q'))
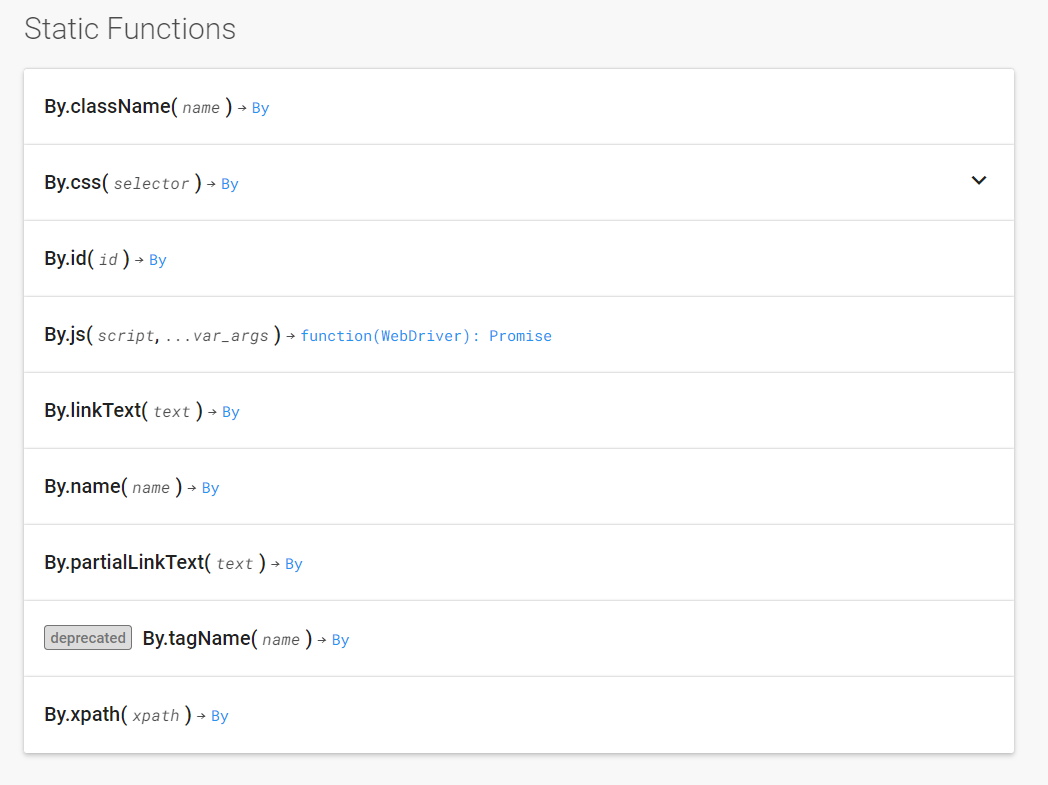
You can also select with other properties besides the name. A summary of the possible functions are in the screenshot below. Or you can read more in the documentation here.
From here, we want to add the method sendKeys to input a search term in the search box then press 'ENTER' (aka RETURN key). sendKeys will accept a series of input actions, separated by commas and will execute them one at a time in order.
So to input the word 'webdriver' in our search box, we simply write as:
// type 'webdriver' in the search box
driver.findElement(By.name('q')).sendKeys('webdriver')
4. Press ENTER to search
Next, to press the RETURN key after inputting 'webdriver', we add a comma then 'Key.RETURN'.
// type 'webdriver' in the search box then press ENTER key
driver.findElement(By.name('q')).sendKeys('webdriver', Key.RETURN);
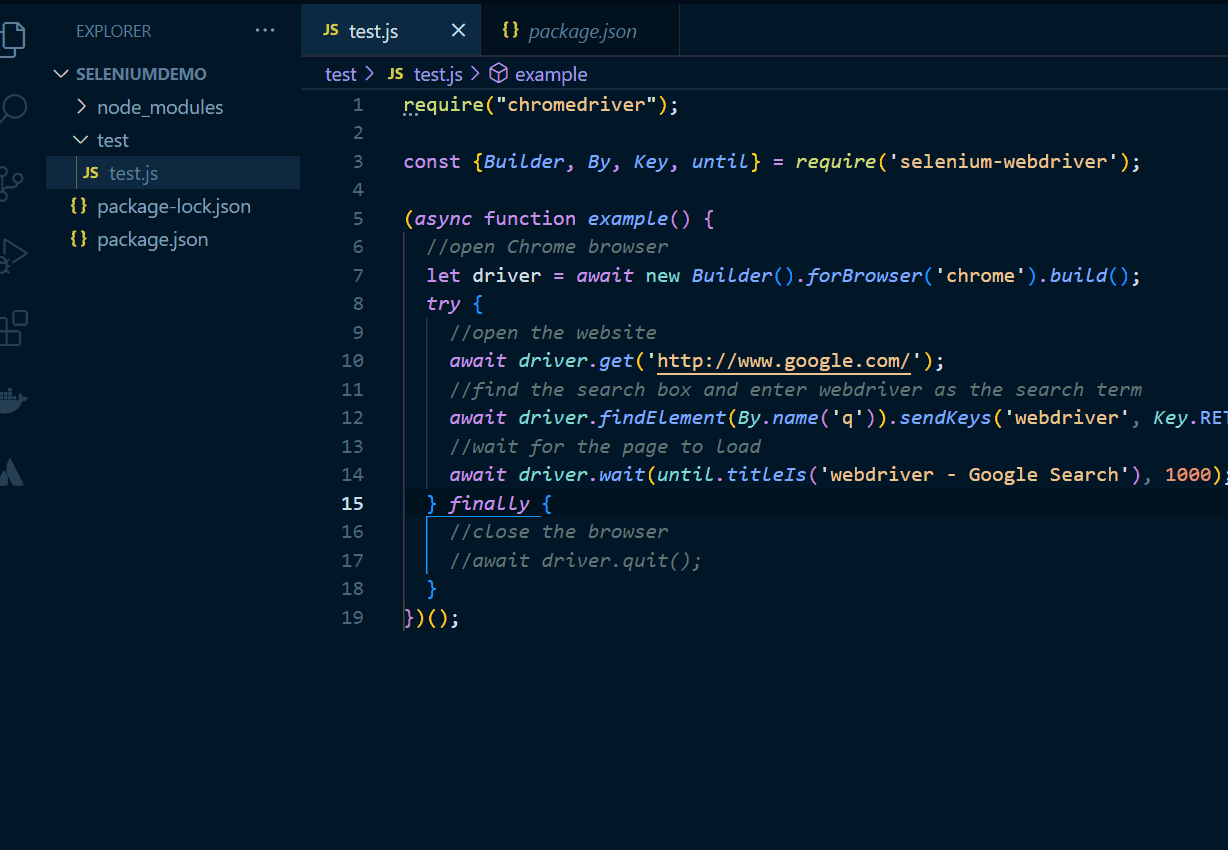
Here's what our function looks like at this point:
async function example() {
  //open Chrome browser
  let driver = await new Builder().forBrowser('chrome').build();

  //open the website
  await driver.get('http://www.google.com/');

   //find the search box, input webdriver as the search term and press ENTER
  await driver.findElement(By.name('q')).sendKeys('webdriver', Key.RETURN);
}
If we run our script again, this is what it should run:
5. Close the browser
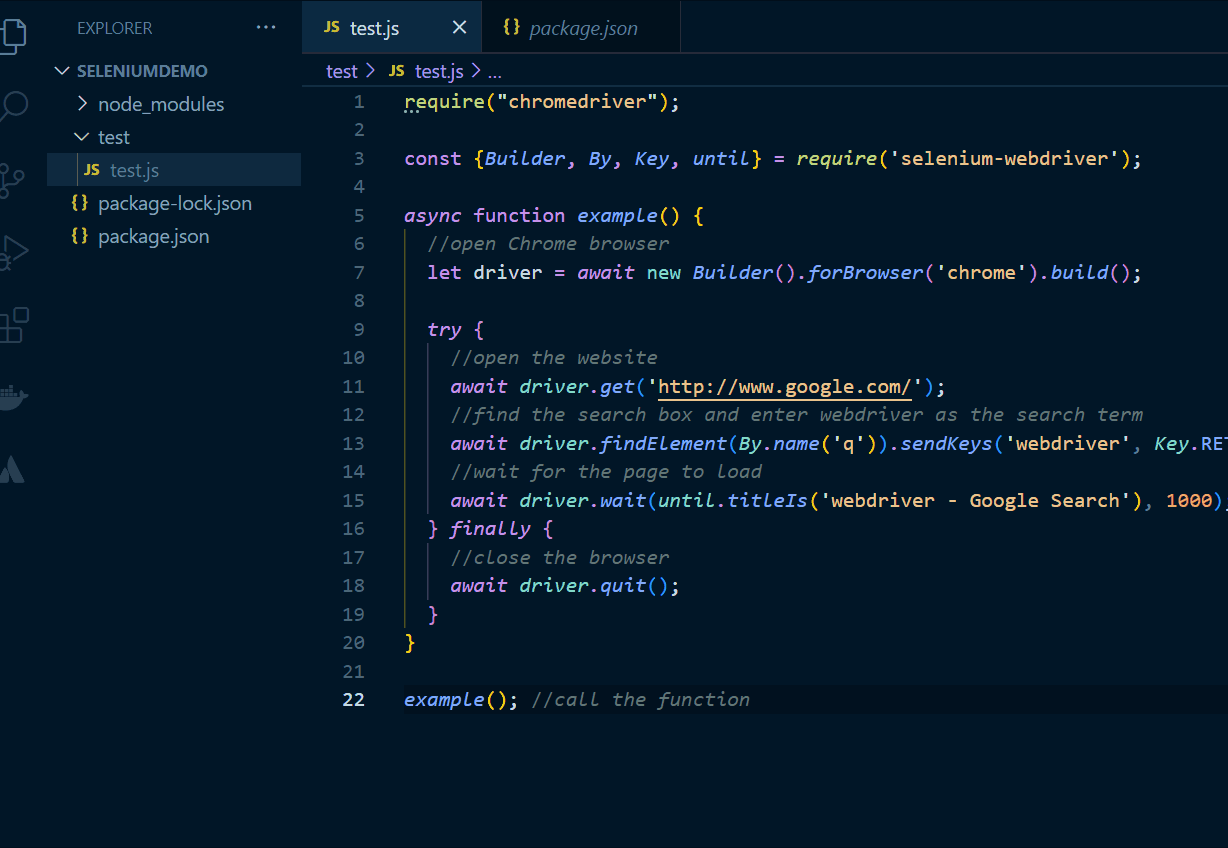
But there's a small improvement we can make, and that is to close the browser after we have done what we wanted. So let's finalize our test.js like so:
require("chromedriver");

const {Builder, By, Key, until} = require('selenium-webdriver');

async function example() {
  //open Chrome browser
  let driver = await new Builder().forBrowser('chrome').build();
  try {
    //open the website
    await driver.get('http://www.google.com/');

    //find the search box and enter webdriver as the search term
    await driver.findElement(By.name('q')).sendKeys('webdriver', Key.RETURN);

    //wait for the page to load
    await driver.wait(until.titleIs('webdriver - Google Search'), 1000);
  } finally {
    //close the browser
    await driver.quit();
  }
}

example();
Code taken from: https://www.npmjs.com/package/selenium-webdriver
And here's our final first Selenium test script! It's super neat, isn't it?
Conclusion
Let's recap what we have learned in this part:
- What is Selenium and what it does
- Setting up a project, installing the packages needed
- Automate opening/closing a browser
- Find the element we need using findElement(By...)
- Automate input actions using sendKeys
Thanks for reading the first part of this series. I hope it was helpful in getting started with Selenium. Please feel free to ask questions in the comments below, and see you in the next part. Cheers!
References
- https://www.selenium.dev/
- https://www.npmjs.com/package/selenium-webdriver
- https://www.selenium.dev/selenium/docs/api/javascript/module/selenium-webdriver/lib/input_exports_Actions.html#sendKeys
- https://www.selenium.dev/selenium/docs/api/javascript/module/selenium-webdriver/index_exports_By.html
- https://www.selenium.dev/selenium/docs/api/javascript/module/selenium-webdriver/


