
How to Integrate PayPal Smart Buttons to your Web Apps
PayPal is the world's largest global payment system. Supporting over 200 countries and 25 currencies, it enables users to send and receive payments easily over borders and language barriers.
In this article, I would like to present a step-by-step, comprehensive guide on how to integrate a simple payment system with PayPal. This would be highly beneficial if you have a personal website with a 'Sponsor/Donate' page or an ecommerce website.
At the end of this tutorial, you will be able to build your own PayPal-integrated page to accept various common payment methods such as:
- PayPal
- Venmo
- Visa
- Mastercard
- Amex
- Discover
- JCB
- UnionPay
- and more
Without further ado, let's begin.
Step 1: Create a Developer & Sandbox Accounts
First, create a developer account on the Developer Dashboard.
Once you've created a developer account, you will need to create 2 types of sandbox accounts to test transactions in a sandbox environment. These 2 types of accounts are:
- Personal
- Business
A Personal account is to simulate the buyer making a transaction. The buyer, in this case, makes the payment on a website and sends money.
A Business account, on the other hand, is the receiver of the transaction, which will receive the amount the buyer pays.
To create these accounts, simply log into your newly created developer account at developer.paypal.com.
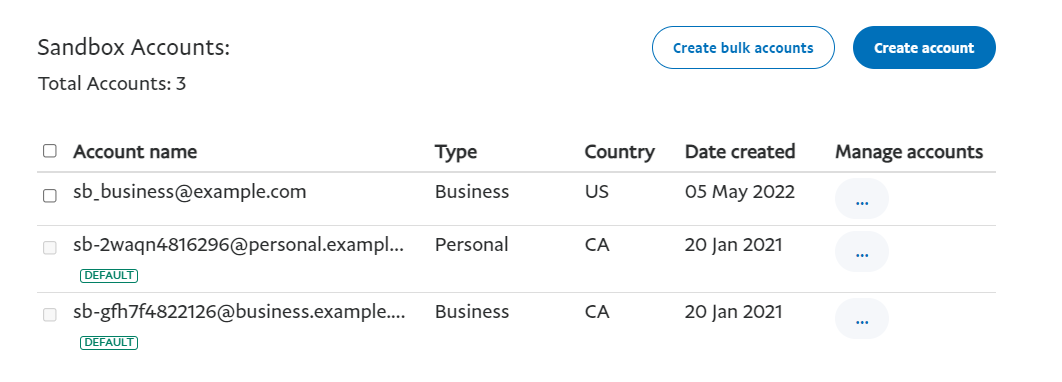
Once logged in, navigate to 'Accounts' as shown in the image below. You should see that by default, you will have both Personal and Business sandbox accounts created for you.

However, these default sandbox email addresses are randomly generated and thus, difficult to remember. For more efficient testing, I recommend creating new accounts with any fake email that you can remember.
Create Business Account
Click on the 'Create Account' button and select Business (Merchant) account. Then, click "Create custom amount" to customize the email.

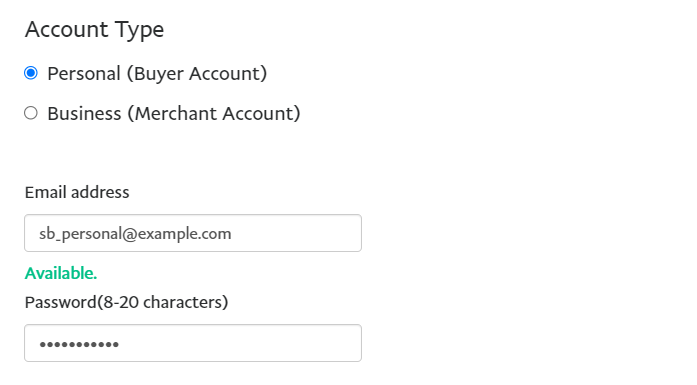
Then, you will see fields where you can customize the email and password of your sandbox account. It does not have to be a real email. You should use an email and password that you can remember easily for testing.

Finally, scroll down and you will see a 'Create account' button. You should now see your new custom Business sandbox account created.
Create Personal Account
Repeat the same steps to create a personal custom sandbox account. This time, make sure the Personal account is checked instead of Business.
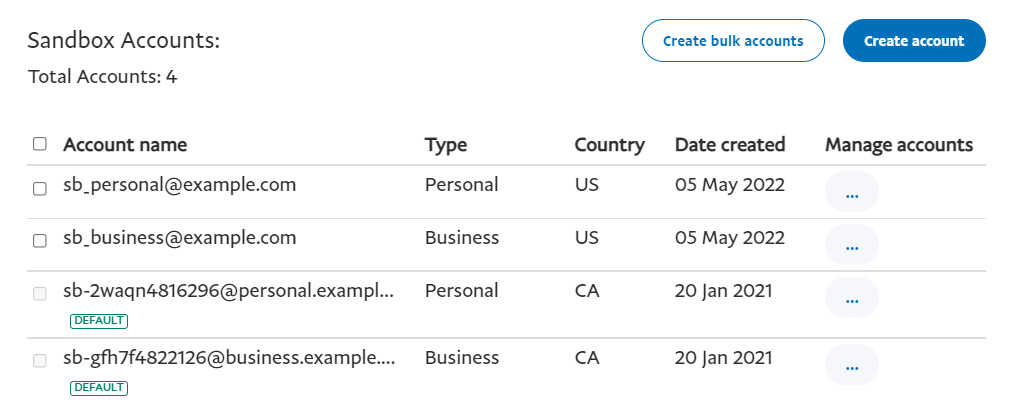
Now, you should have succesfully created 2 custom sandbox accounts. One Business and one Personal, as shown in the image below.
Step 2: Create App & Get Credentials
The next step is to create an app in the Developer Dashboard. On the left navigation panel, click on 'My Apps & Credentials'. You will see the following page below, click 'Create App'.

You will then have to enter an App Name, select 'Merchant' as App Type and select the custom Business account we just created as shown below.

Once you are happy with the inputs, click 'Create App'.
The next page you will automatically see will be your credentials. You will need both your Client ID and Secret for this tutorial. Copy and save them somewhere.

Step 3: Integrate Smart Payment Buttons
Here comes the juicy part of the integration, adding buttons to process payments on your website.
First, create a div element where the button will render.
<!-- Set up a container element for the button -->
<div id="paypal-button-container"></div>
Then, import the PayPal JS SDK script with your client ID as shown.
 <!-- Include the PayPal JavaScript SDK -->
<script src="https://www.paypal.com/sdk/js?client-id=YOUR_CLIENT_ID"></script>
Finally, we render the button by calling the render function from the SDK.
// Render the PayPal button into #paypal-button-container
paypal.Buttons({
     // Set up the transaction
     createOrder: function(data, actions) {
          return actions.order.create({
              purchase_units: [{
                   amount: {
                      value: '1.00'
                   }
               }]
           });
         },
       // Finalize the transaction
       onApprove: function(data, actions) {
           return actions.order.capture().then(function(orderData) {
               // Successful capture! For demo purposes:
               console.log('Capture result', orderData, JSON.stringify(orderData, null, 2));
               let transaction = orderData.purchase_units[0].payments.captures[0];
                alert('Transaction '+ transaction.status + ': ' + transaction.id + '\n\nSee console for all available details');
            });
         }
}).render('#paypal-button-container');
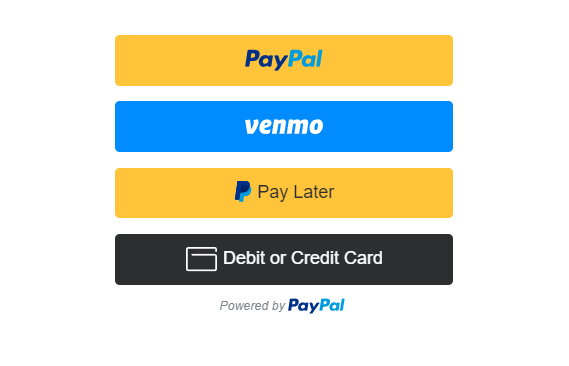
Now if we run our website or web app, we can easily see that our button have rendered successfully!
Customizing the JS SDK
These buttons are called Smart Payment Buttons because they can automatically show any supported payment methods according to how you customize it (i.e. the currency you are accepting in or the country your buyer is from).
Customizing the script is so easy - it's literally just appending some strings!
For example, if you want to indicate your currency is USD and buyer-country is US. Simply add query parameters to the imported SDK script. From this:
<script src="https://www.paypal.com/sdk/js?client-id=YOUR_CLIENT_ID"></script>
To this:
<script src="https://www.paypal.com/sdk/js?client-id=YOUR_CLIENT_ID¤cy=USD&buyer-country=US"></script>
And now, the buttons will automatically render US-based payment methods such as Venmo and more.
The full list of the possible parameters to configure are in this documentation.
Customizing the Buttons
Just like the SDK, the buttons are also very easy to customize.
Inside the function where we render our button, we can add a style object like so:
paypal.Buttons({
     style: {
          color:  'blue',
          shape:  'pill',
          label:  'pay',
          height: 40
      }

}).render('#paypal-button-container');
And now the buttons will look like this:
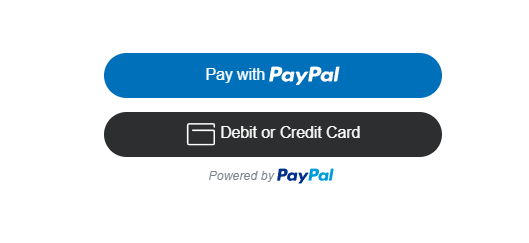
The full list of possible style values can be found in this documentation
Step 4: Test Transactions
Once the integration is done, it is highly recommended to test some transactions in this sandbox environment.
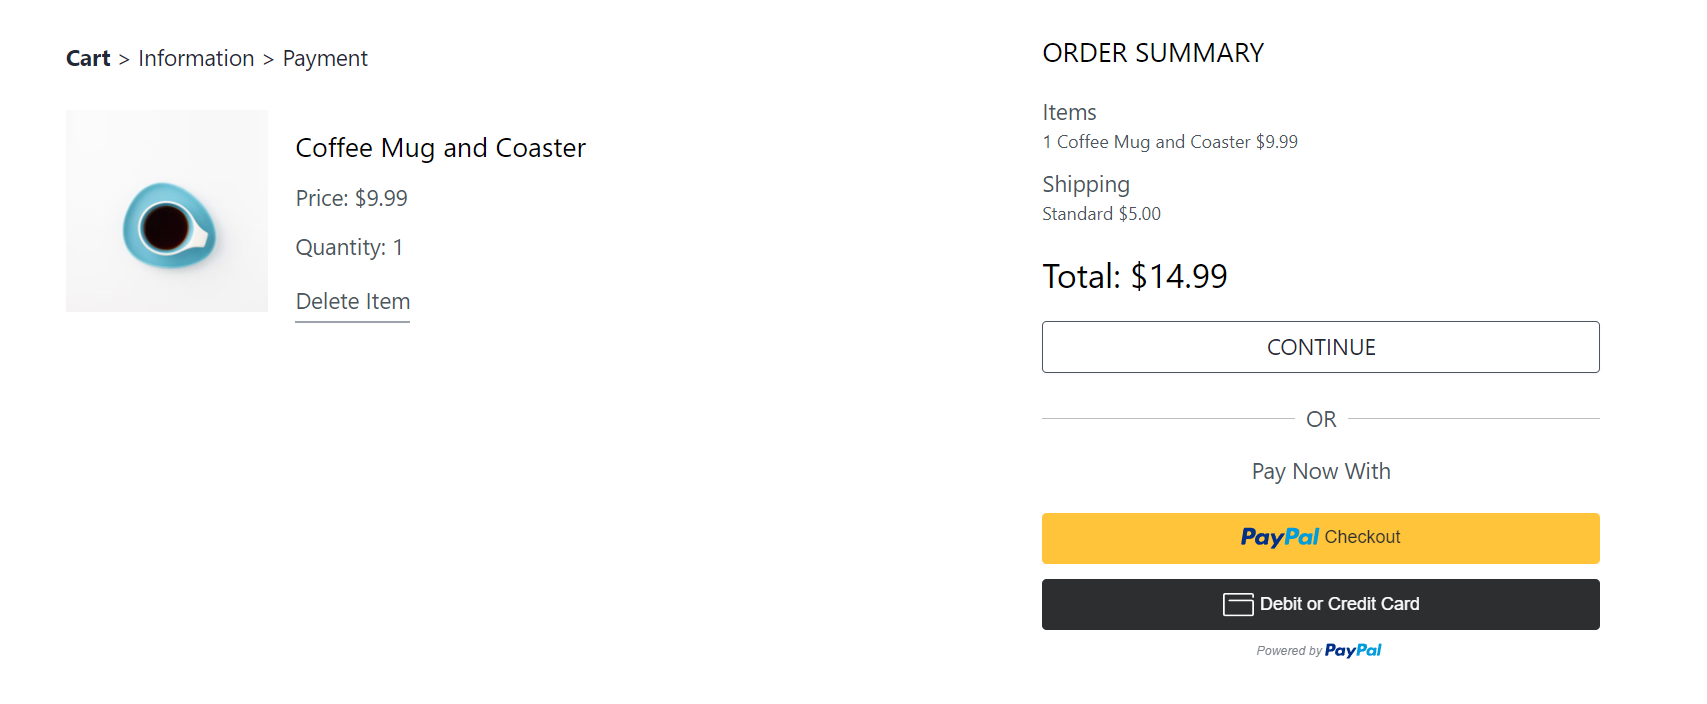
To test a transaction, use the sandbox personal account that you created in Step 1 to act as the buyer. Here's a clip of how I tested.


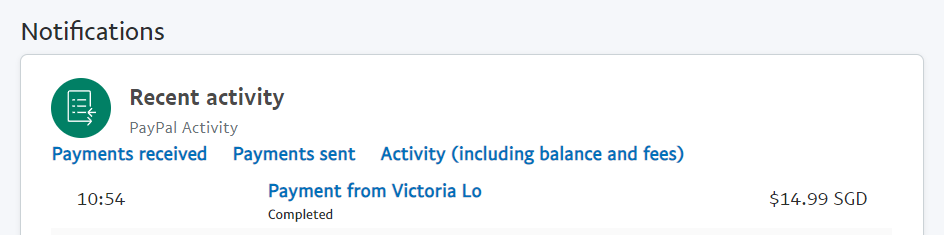
As seen above, the transaction has been completed successfully. You can verify that the amount has been received by the sandbox business account (receiver) by logging into sandbox.paypal.com and entering your sandbox business email and password we created in Step 1.
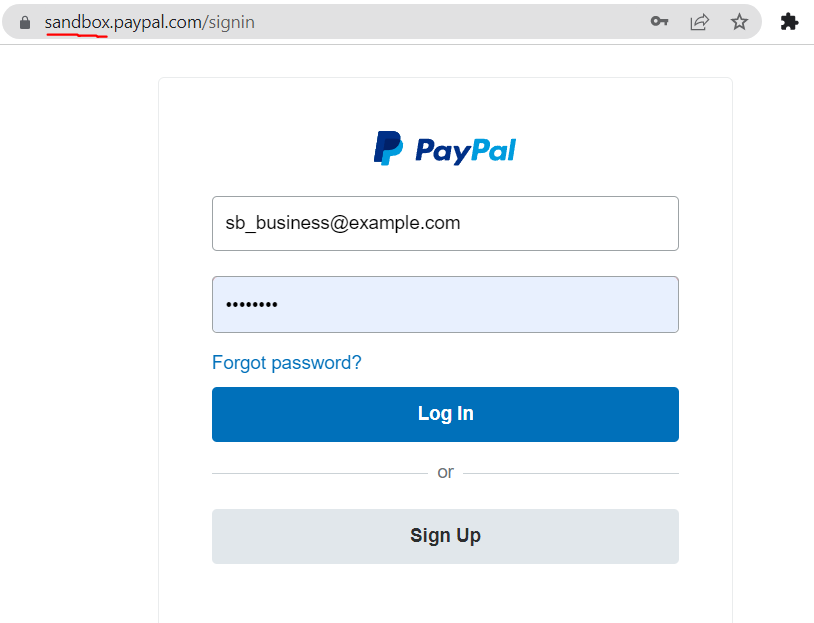
And when you log in, you should see the transaction in the home page.
Step 5: Go Live
Once we are happy with testing some transactions and how the buttons look in the sandbox environment, we can go live!
To go live, head back to the Developer Portal. Under My Apps & Credentials, select the Live tab and click 'Create App'.

Just like sandbox, you will see a CLIENT_ID and SECRET. These will be your live credentials. Copy the live CLIENT_ID to your JS SDK script.
<script src="https://www.paypal.com/sdk/js?client-id=LIVE_CLIENT_ID"></script>
And there you go! You are now ready to process real transactions on your website!
How to tell if you went live successfully?
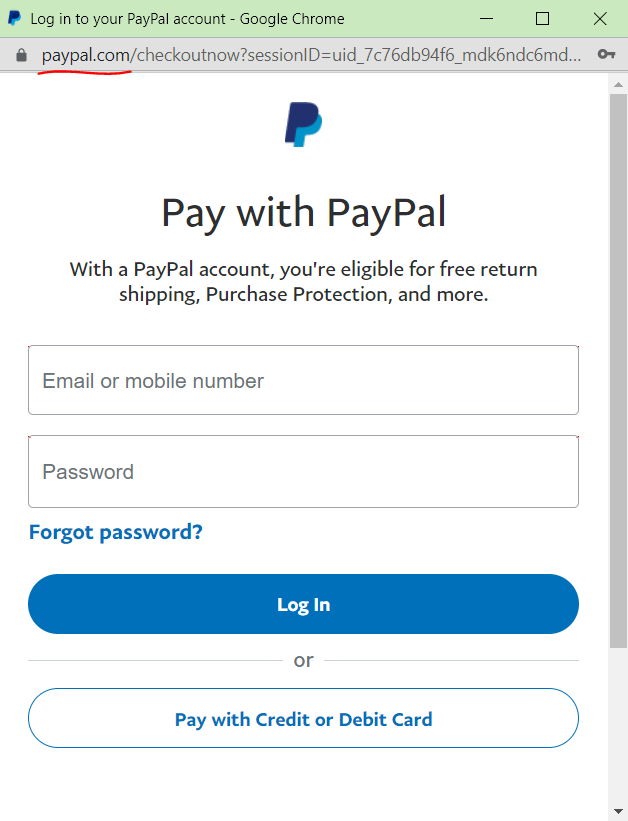
The simplest way is to click the PayPal button and check the URL of the popup window.
Sandbox
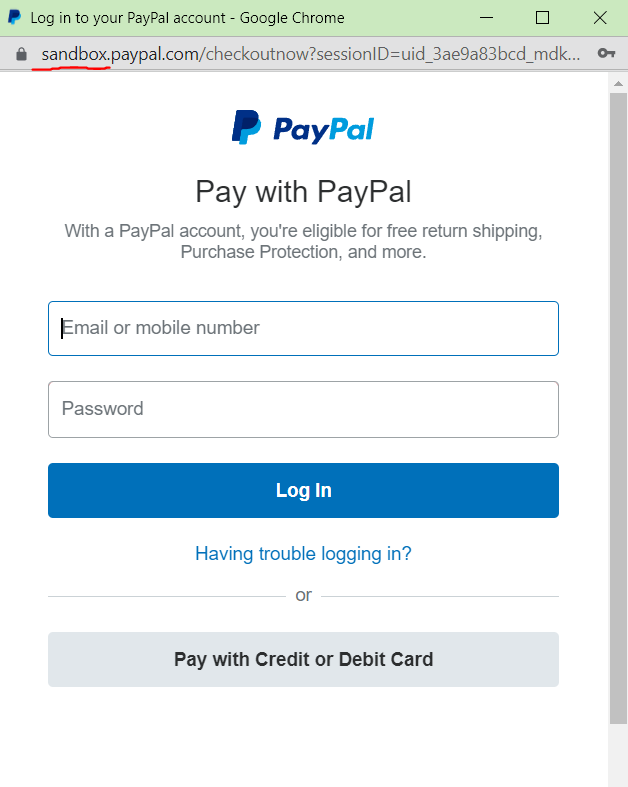
Live
Conclusion
Having a payment system is crucial in any ecommerce or web apps that accept payment. PayPal has a selection of robust and simple products to integrate into any website.
I hope you have found this article helpful in powering up your websites for a payment system. Thanks for reading! Please like and share if it is helpful in any way! Cheers!


