
How to embed live video chats via Whereby Embedded
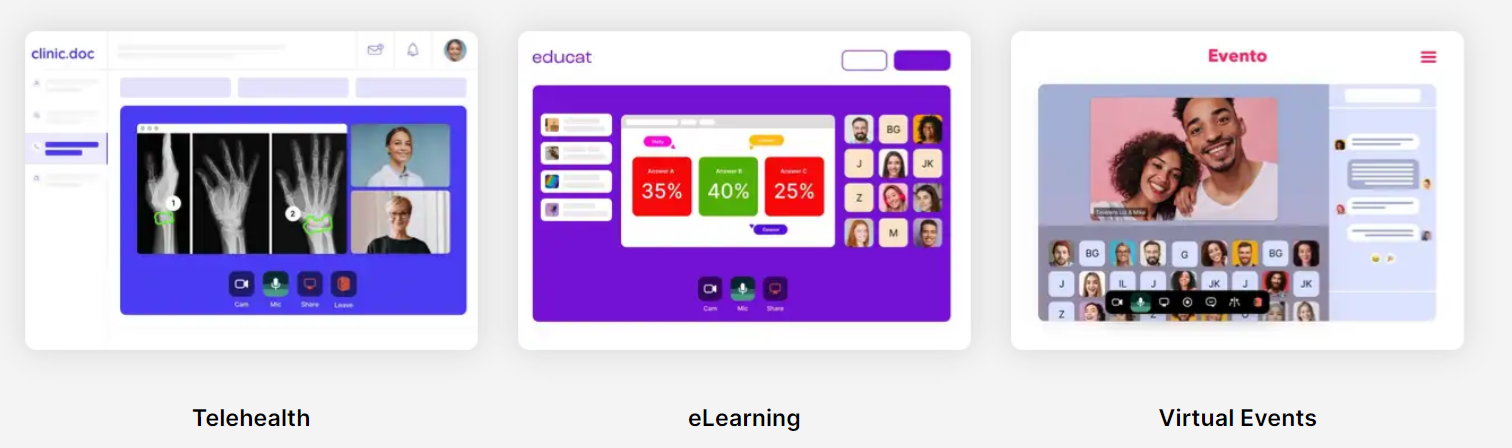
As the digital age continues to evolve, there are many websites that require live video calls such as telehealth, eLearning and virtual events websites.
In this article, let me introduce you to Whereby and how you can integrate it in a website. With its minimalistic API design and powerful features, this tool makes embedding video chats on your website a breeze.
We will be building a simple website that can:
- Create a room to start a video call via API
- Embed the video chat on a website
Prerequisites
Before we get started, please ensure that you have these prerequisites to follow along:
- Basic knowledge on APIs
- Advanced beginner to intermediate JavaScript/Node.js knowledge
- Node.js installed on your machine (v14 and above)
- Code editing software like VS Code
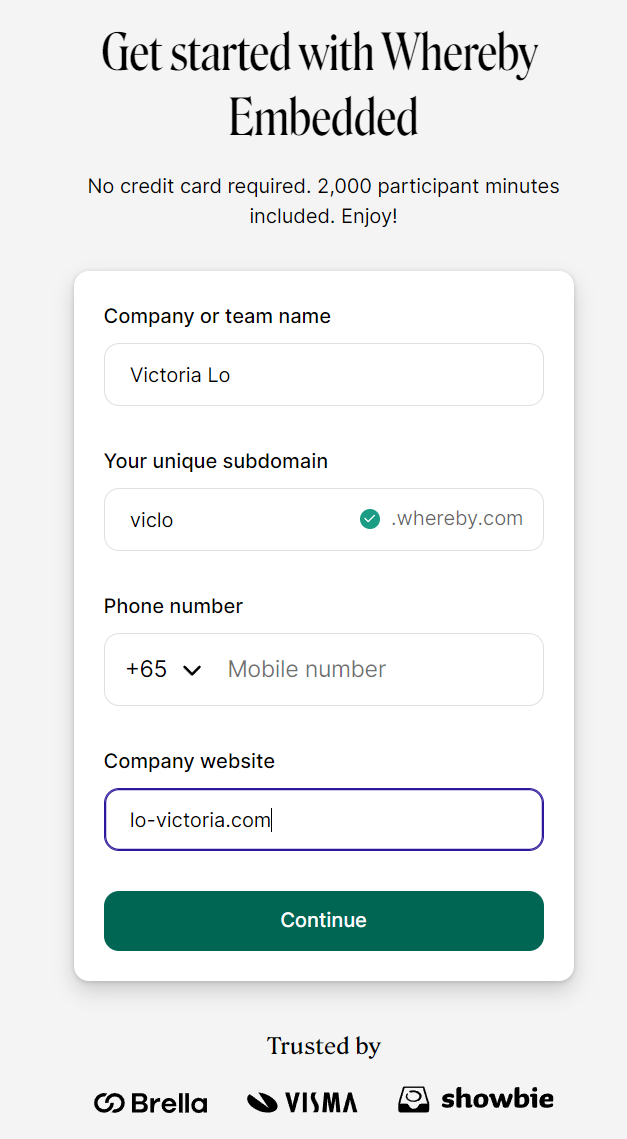
Step 1: Sign up for a free account
Go to https://whereby.com/information/embedded/ to create a free Whereby Embedded account.
It will give you 2000 participant minutes/month to have a play with and test all its amazing features.
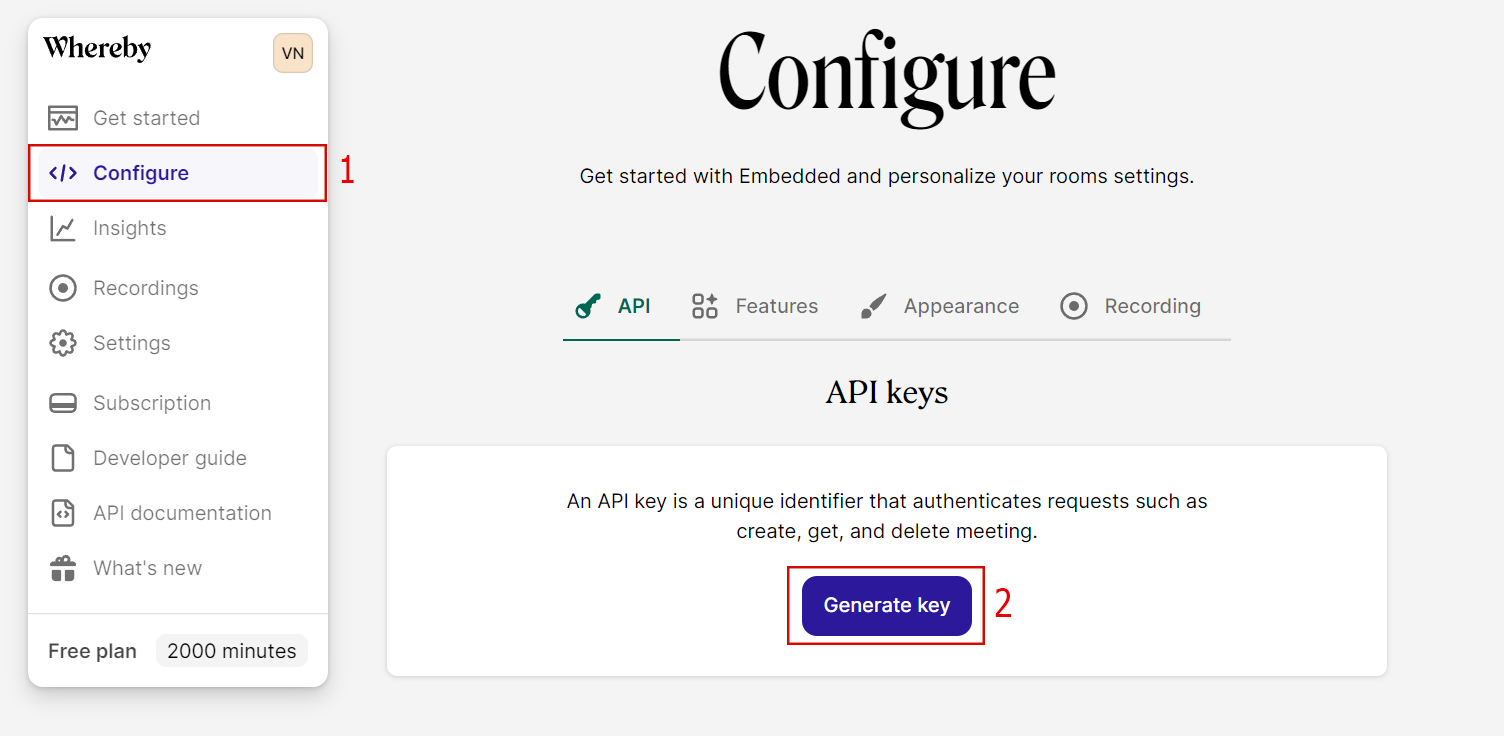
Step 2: Generate API Key
Once you have created the free account, you will see your dashboard. Navigate to Configure then click Generate key, as shown in the screenshot below.
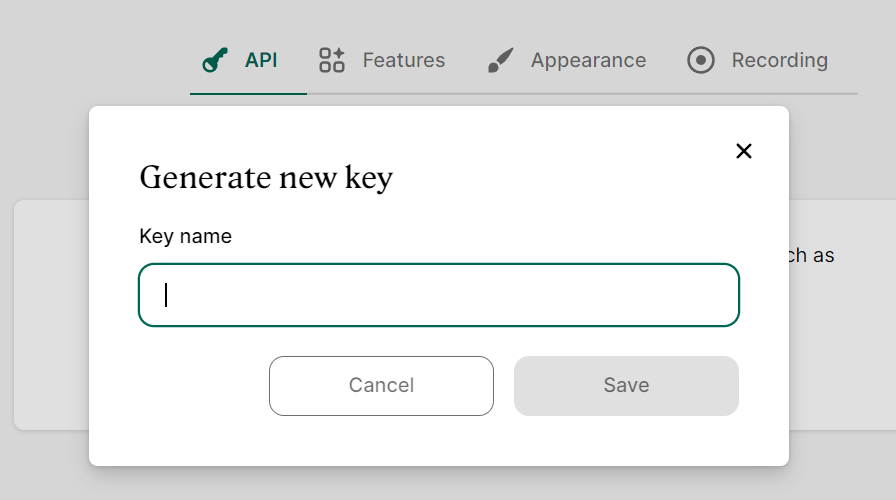
You can name the API Key anything you want. I recommend using your website's name or whatever is appropriate.
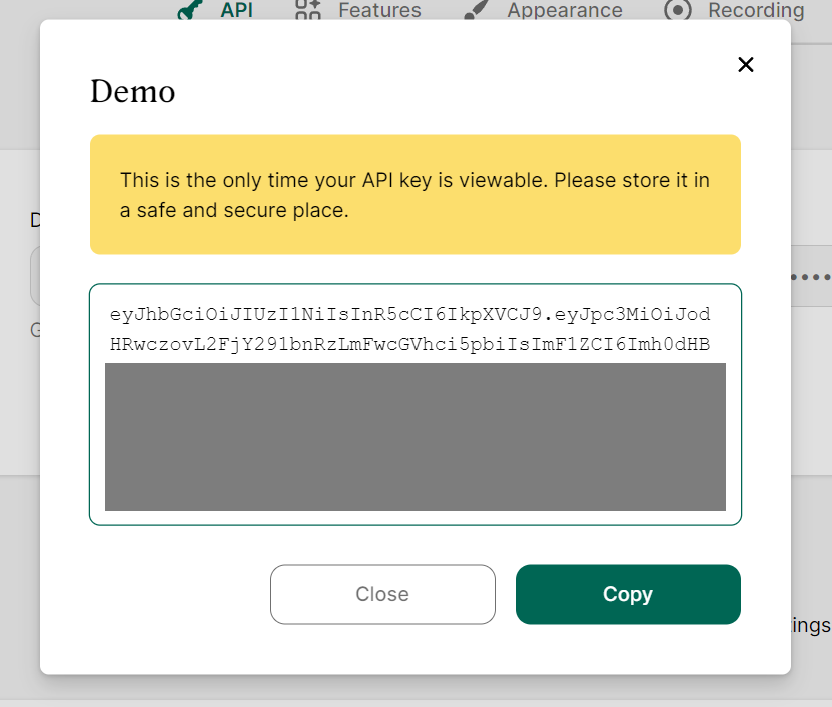
Your API Key will then be revealed to you. Make sure to copy it and save it securely somewhere. You will not be able to see it again.
Step 3: Build a Node.js server
Now let's build a simple express Node.js server to call the API endpoints using our generated API key. In a new project directory, create the index.js file then run:
npm install express cross-fetch dotenv
You should now have the following files in your project:
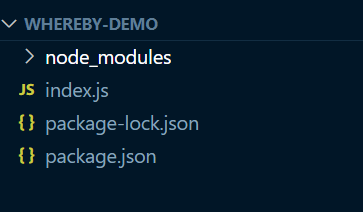
Now we add the following code in index.js to create an express app:
const express = require("express");
const fetch = require("cross-fetch");
require("dotenv").config();

const app = express();

app.listen(3000, () => console.log("Server started at port 3000!"));
Step 4: Create Room
Let's create an .env file to store our API key like so:
API_KEY=YOUR_API_KEY_HERE
Back to our index.js, we initialize the following variables:
const API_KEY = process.env.API_KEY;
const BASE_URL = "https://api.whereby.dev/v1";

const data = {
  endDate: "2099-02-18T14:23:00.000Z",
};
Then, we create the function to create a room by sending a HTTP request to Whereby API with our API_KEY in the header and data in the request body.
function createRoom() {
    return fetch(`${BASE_URL}/meetings`, {
        method: "POST",
        headers: {
            Authorization: `Bearer ${API_KEY}`,
            "Content-Type": "application/json",
        },
        body: JSON.stringify(data),
    });
}
Finally, we have our app's endpoint to call this function, which will return the roomUrl that is created.
app.post("/create-room", (request, response) => {
    createRoom().then(async res => {
        if(res.status >= 400) response.json("Something is wrong.")
        const data = await res.json();
        console.log("Room URL:", data.roomUrl);
        response.json(data.roomUrl);
    });
});
Let's test this on Postman. If there are no issues, we should see Postman returning an URL in the response as shown below.

Step 5: Embed the Room on a website
Now that we have the roomUrl, we can simply embed it via an iframe element on a webpage. The iframe element can be adjusted if you don't want it to be fullscreen.
<iframe
  src="YOUR_ROOMURL_HERE"
  allow="camera; microphone; fullscreen; speaker; display-capture"
></iframe>
I have created a simple HTML page to request for the create room endpoint and once the data is returned from the API, the roomUrl will be embed onto the site.
<!DOCTYPE html>
<html lang="en">

<head>
    <meta charset="UTF-8">
    <meta http-equiv="X-UA-Compatible" content="IE=edge">
    <meta name="viewport" content="width=device-width, initial-scale=1.0">
    <link rel="stylesheet" href="./style.css">
    <title>Whereby Demo</title>
</head>

<body>
    <div class="container">
        <h1>Whereby Demo</h1>
        <button id="create-room">Click here to create a meeting room</button>
    </div>
    <script>
        document.getElementById("create-room").addEventListener("click", () => {
            fetch("/create-room", {
                method: "POST"
            }).then(res => {
                return res.json();
            }).then(data => {
                console.log(`RoomUrl is: ${data}`);
                embedVideoCall(data);
            })
        })

        function embedVideoCall(roomUrl) {
            document.querySelector(".container").insertAdjacentHTML('beforeend',
            `<iframe src="${roomUrl}" allow="camera; microphone; fullscreen; speaker; display-capture" width="900px" height="650px"></iframe>`);
        }
    </script>
</body>
</html>
Final Result
And there we go! Our website now has a live video call embedded on it.
How simple was that? Thanks to Whereby Embedded and its API, it is incredibly fast and easy to build websites with embedded video calls. Feel free to view the full source code of this tutorial at this GitHub repository.
There are also tons of customization options that you can do to fit your use such as change the colours, replace the logo, switch certain features on or off (i.e. chat, screenshare, etc.) and more. To learn more about the capabilities and features of Whereby, please read the 'See More' section below. Thanks for reading! I hope you have found the article useful. If it is, please give a like and share the article. Cheers!
Note: This is a sponsored post. Thank you Whereby Embedded for sponsoring this article.


