Managing Team and Roles with Buddy
Welcome back to Part 2 of the DevOps Series with Buddy!
In the previous article, Introduction to DevOps with Buddy, I covered the following:
- What is DevOps?
- What is CI/CD?
- What is a pipeline?
- Step-by-step tutorial to set up a pipeline and deploy action using Buddy CI/CD
For this part of the series, I will be demonstrating how you can easily collaborate with your team by assigning roles and managing multiple groups across a project for organization purposes. Without further ado, let's get started!
The Importance of Team Management in DevOps
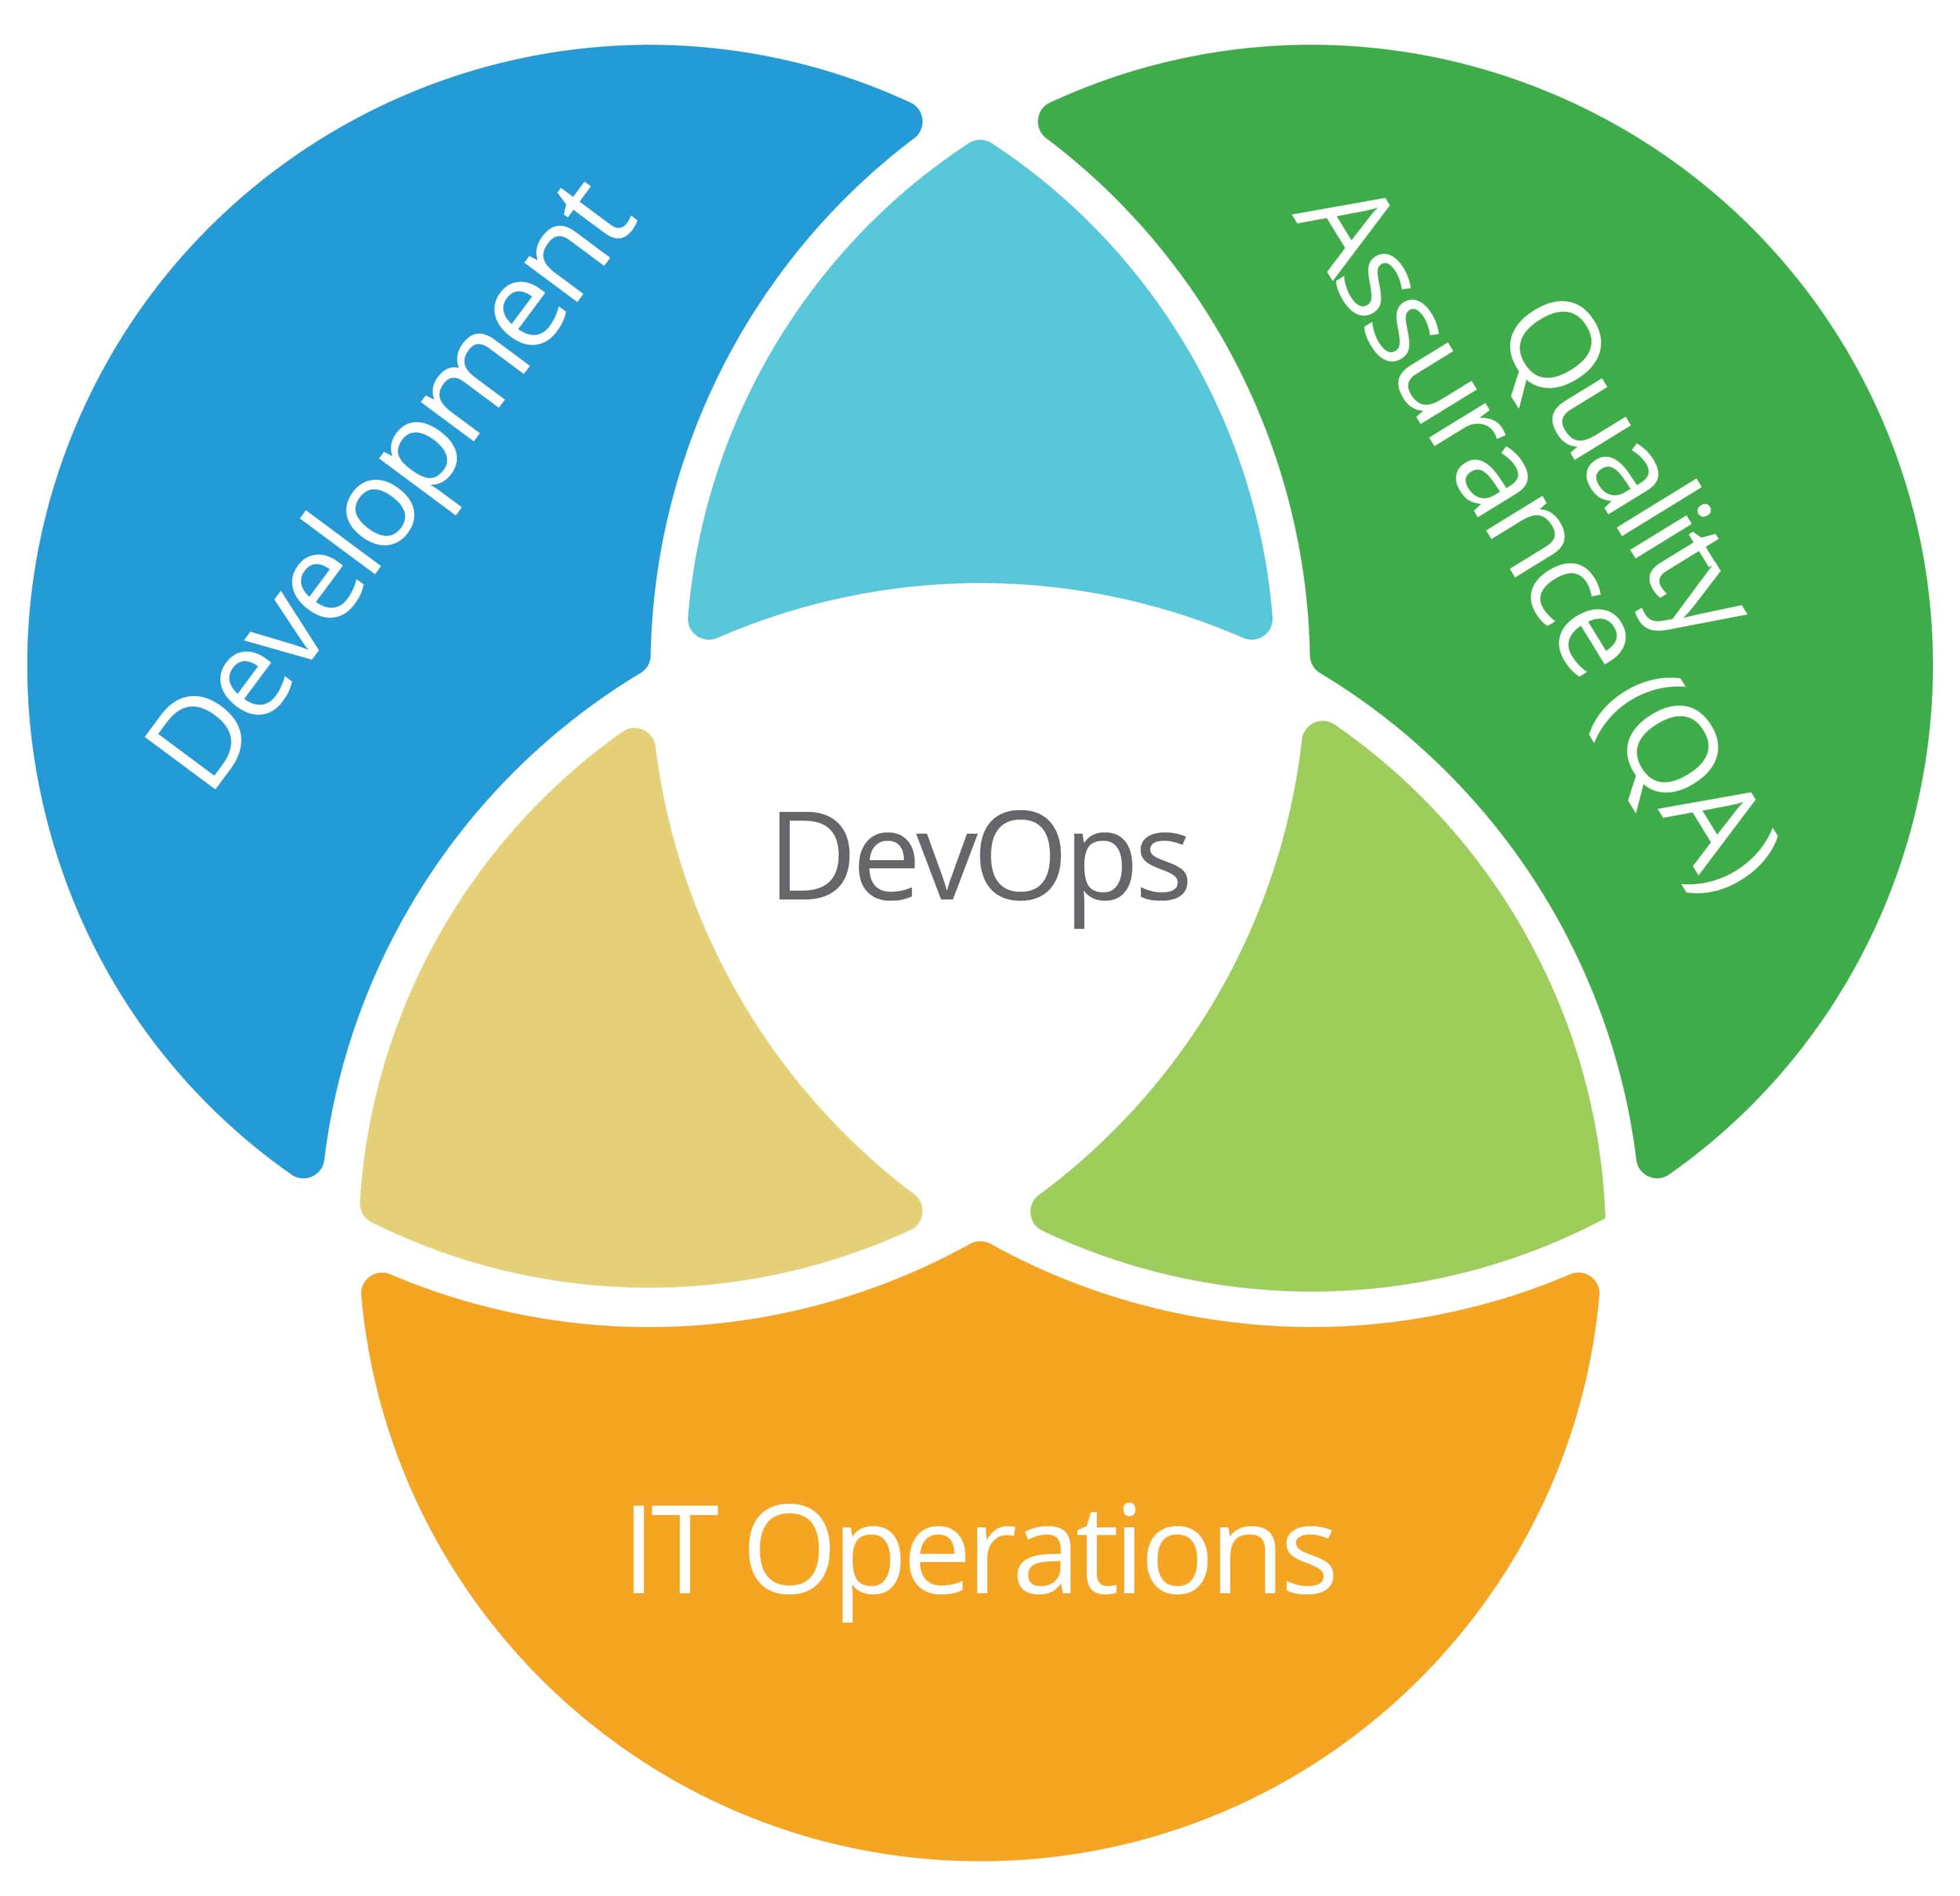
As mentioned earlier in the previous article, DevOps is a combination of the word 'Development' and 'Operations'. Hence, a DevOps environment is more about managing the teams involved rather than the technology.
A high-performing DevOps team must have a strong and cohesive collaboration between the Development and Operations teams.

Source: https://www.smartsheet.com/sites/default/files/IC-DevOps-Venn-Diagram.jpg
The specifics of a DevOps team structure varies from organization to organization. Most of the time, the Dev and Ops team are broken down further into smaller specialized groups such as front-end, back-end, support, marketing, etc.
Ultimately, it all boils down to assigning the appropriate roles and responsibilities as well as integrating an efficient collaborative system between different teams to communicate.

Source: https://hackernoon.com/hn-images/1GqSZiwLOkoGSAiwdxElOYA.jpeg
Managing Team and Roles with Buddy
Buddy CI/CD allows you to implement and manage a well-structured DevOps team with no effort and no advanced knowledge in DevOps at all. With their simple and intuitive UI, you can create groups, assign roles and permissions by following the steps below.
If you haven't created a Buddy account, go to buddy.works to set up an account.
Read the first article to learn more on how to get started with Buddy.
Step 1: Invite new members
Once you have an account and project set up, head over to the 'People' tab in your Buddy workspace.

Then, click the 'Invite new people' button on the right panel and add your team members via email.

After inviting your team members, you should see something like the image below. As an example, I am adding 2 other Victorias (pretend they are not me) as team members. Now, we can organize these members into different groups.

Note: By default, any member in the team can invite new people into the workspace. This permission can be restricted under Preferences > Settings > Enable Project Restrictions.

Step 2: Create groups
Back to the workspace, click the 'Create new group' button on the right panel. Name the group and add members to the group.

For this example, I've created a Dev and Ops Team with a member placed into each team like so:

Note: Only the Workspace Owner and Administrator can create and delete groups. Team members can only invite other members into the group.
Step 3A: Managing Members
Now that we have groups with team members in them, we can assign projects, monitor their activity and edit their roles in the team.
Click on a team member to view their Member Profile. You will see 3 tabs: Activity, Access Logs and Projects.

'Activity' will display the all the actions the team member has performed. 'Access Logs' shows the time and date the member accessed the workspace. 'Projects' is where the member can be assigned to projects specified by the Workspace Owner or Administrator.
Alternatively, you can automatically assign a member to all new projects by checking the box under Options.

A member can be assigned to more than one group by clicking the dropdown tab 'Groups' on the right panel.

Step 3B: Managing Groups
Click a group to view the Group Profile. You can add the group description below the group name.
Unlike a Member Profile, an additional 'Members' tab exists in a Group Profile. Here is where you can add or remove members of the group.

You can also add bulk assignments under the 'Projects' tab to:
- Add remaining members to a project with at least one member
- Add group members to every project that they are not assigned to
- Change the role of a member in all currently assigned projects
- Remove all group members from all projects

To delete a group, simply click on the red 'Delete' button on the right panel.
Step 4: Managing Permissions
Project Permissions
In addition to assigning projects and roles to members, we can configure permissions to restrict certain actions a member can perform on a project.
You can edit/view a member's permission under the Member Profile > Projects.

By default, there are 2 permissions: Developer and Read-Only.
- Developer: can view, add, edit and remove all elements of the project
- Read-Only: can only view and comment on all elements of the project
Pipeline Permissions
More specifically, Buddy allows you to also set permissions on pipelines, making them visible to only defined members.
You can edit pipeline visibility under your Project dashboard > Pipelines > Settings.

Scroll down to the Visibility settings to set pipeline visibility among groups or members.

Note: You cannot restrict visibility on Administrators.
Next Steps
Congratulations! You have learned how to create an organized DevOps team and how to manage them using Buddy CI/CD! I hope you find this article helpful in understanding the importance of team collaboration and organization in a typical DevOps environment.
As seen from the tutorial, using Buddy to implement a team structure requires no technical knowledge or effort at all. Even a non-technical team member can easily invite new members into the group and monitor activities. For more information, visit buddy.works or read their documentation here.
Stay tuned for the next article which I will explain how to automate notifications and tests using Buddy! Till next time, cheers!


