Let's Build a Simple Bulletin Board React App
A beginner-friendly project to learn about drag-and-drop in React!

In an article I wrote on Making Draggable Components in React, a reader requested to share how I built the Bulletin Board App, a simple demo app to showcase draggable components in React.

In this article, I'll be showing step-by-step how I made this simple app, perfect for React beginners to learn how to implement draggable components in their projects. Let's get started!
The App
This app can do the following:
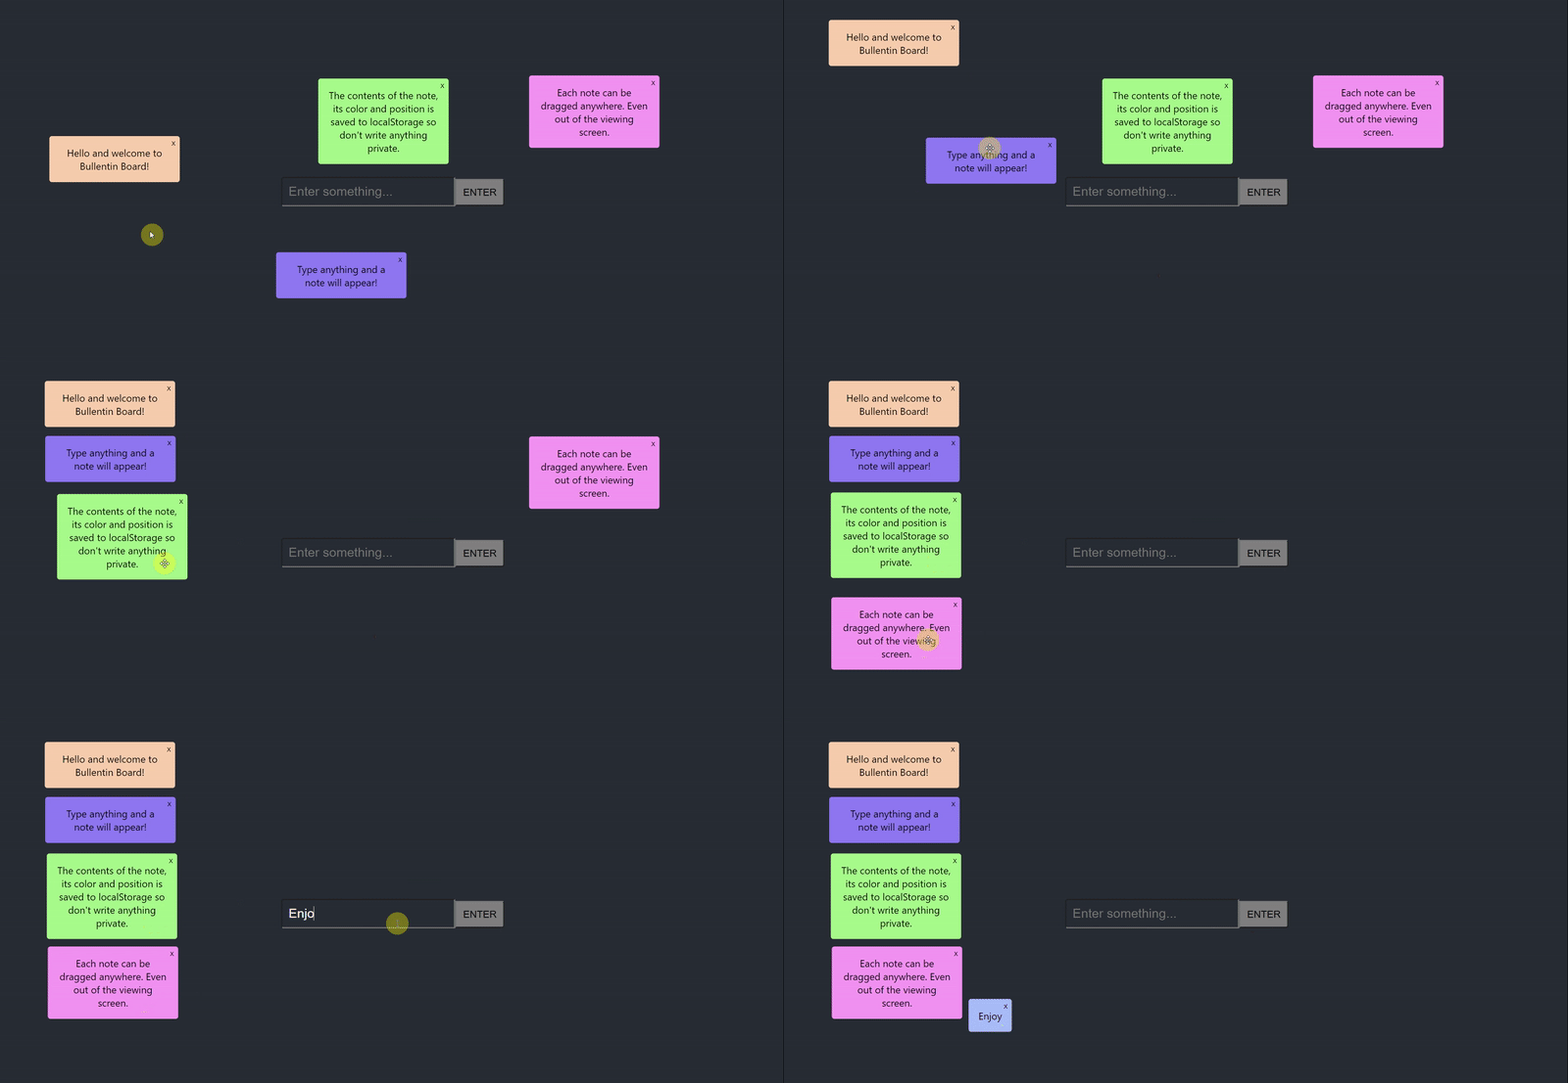
- Allows user to type something in an input and press ENTER to generate a note of a random colour.
- Allows user to drag the note anywhere. Its position, colour and content will be saved even after the user exits the app.
- Allows the user to delete the note by clicking on the top-right 'X' button.
So let's build the app according to its 3 use cases.
Step 1: Install & import packages
Initialize a new Create React App by running the command:
npx create-react-app my-bulletin-board-app
Then, in the project's root folder, install the following packages that we need:
react-draggable: to implement draggable features for the notesrandomcolor: allow notes to be generated in random coloursuuid: generates a unique identifier for each note
Install with the command:
npm install react-draggable randomcolor uuid
In App.js, import the packages and React useEffect and useState hooks.
import React, { useState, useEffect } from "react";
import "./App.css";
import Draggable from "react-draggable";
import { v4 as uuidv4 } from "uuid";
var randomColor = require("randomcolor");
Step 2: Initialize states
We need to create and initialize 2 states using useState hook.
item: this is the value of the input field. Initialize as empty string.items: this is an array that contains all the notes generated, saved to localStorage. Initialize as empty array if localStorage has no saveditems.
const [item, setItem] = useState("");
const [items, setItems] = useState(
    JSON.parse(localStorage.getItem("items")) || []
  );
Step 3: Create input element
We can create the HTML input and button elements in the return function of App.js as follows:
<input
    value={item}
    onChange={(e) => setItem(e.target.value)}
    placeholder="Enter something..."
    onKeyPress={(e) => keyPress(e)}
/>
<button onClick={newitem}>ENTER</button>
It looks something like:

<input> has the following attributes:
value: set to the value of theitemstateonChange: updateitemstate every time there is a change in the input's valueplaceholder: description when there's nothing in the input fieldonKeyPress: calls thekeyPressfunction that checks if the key pressed is ENTER, call thenewitemfunction.
The keyPress function is written like so:
const keyPress = (event) => {
    var code = event.keyCode || event.which;
    if (code === 13) {
      newitem();
    }
  };
This way, the user can type something in the input field then press ENTER key or click on the ENTER button to generate a new note on screen.
As for the ENTER button, when the user clicks on it, the newitem function will be called. Let's write this function next.
Step 4: newitem
This function generates a new note on the screen with the string the user typed in input (i.e. item). A note is an object with the following properties:
id: unique identifier generated using uuidv4()item: the string content of the note, which is the stateitem's valuecolor: the background colour of the note, generated withrandomColor({luminosity: "light",})defaultPos: the x and y coordinates of the note. Initialized to{x:100, y:0}.
const newitem = () => {
    if (item.trim() !== "") {
     //if input is not blank, create a new item object
      const newitem = {
        id: uuidv4(),
        item: item,
        color: randomColor({luminosity: "light",}),
        defaultPos: { x: 100, y: 0 },
      };
      //add this new item object to the items array
      setItems((items) => [...items, newitem]);
      //reset item value to empty string
      setItem("");
    } else {
      alert("Enter a item");
      setItem("");
    }
};
Now, let's update our localStorage every time our items array is updated. We can use the useEffect hook to achieve this:
useEffect(() => {
    localStorage.setItem("items", JSON.stringify(items));
  }, [items]);
Now we should display our note objects from our items array on screen.
Step 5: Display items
In our return function, below our input and button element, we can display our notes using the map array method:
{items.map((item, index) => {
        return (
          <Draggable
            key={item.id}
            defaultPosition={item.defaultPos}
            onStop={(e, data) => {
              updatePos(data, index);
            }}
          >
            <div style={{ backgroundColor: item.color }} className="box">
              {`${item.item}`}
              <button id="delete" onClick={(e) => deleteNote(item.id)}>
                X
              </button>
            </div>
          </Draggable>
        );
      })}
For every note object in the items array, we will create a <Draggable> component in which:
keyattribute =idof the object.defaultPositionof the component =defaultPosof the object.onStop, which is when the user stops dragging the note on screen, will call theupdatePosfunction.
Inside the <Draggable> component, we have the <div> that will render the note's item property on a background with the note's colour property. And finally, we have an 'X' button which calls the deleteNote function upon clicked.
Now, we should be able to generate a new randomly-coloured note on screen every time we type something in the input and press ENTER.

However, if we dragged the note and reload the page, the note's position will not be saved because we haven't written our updatePos function. Let's write that function next.
Step 6: updatePos
This function is called every time we stop dragging the note. That way, we can save the final position of the note to our items array in localStorage.
The next time we visit the page, the app will remember the last position of the note. It won't reset to {x:100, y:0}` all the time.
Here's how the function works:
- We pass
dataas the first parameter of the function. It contains the x and y coordinates of our note. - Clone our
itemsarray into a new array callednewArr. - Get the index of the note in the array we want to update from the 2nd parameter
index. - Set the new coordinate values of the note in its
defaultPosproperty. - Set
itemsto the value of thenewArr.
const updatePos = (data, index) => {
    let newArr = [...items];
    newArr[index].defaultPos = { x: data.x, y: data.y };
    setItems(newArr);
 };
Great! Now the position of any note will be updated and saved to localStorage whenever it changes. Let's move on to the final function: deleteNote.
Step 7: deleteNote
In this function, the note will be deleted from both on screen and from the items array in localStorage.
This function is pretty straightforward. We can simply use the filter array method to remove the note whose id property matches the id parameter of the function.
const deleteNote = (id) => {
    setItems(items.filter((item) => item.id !== id));
 };
And that's it!
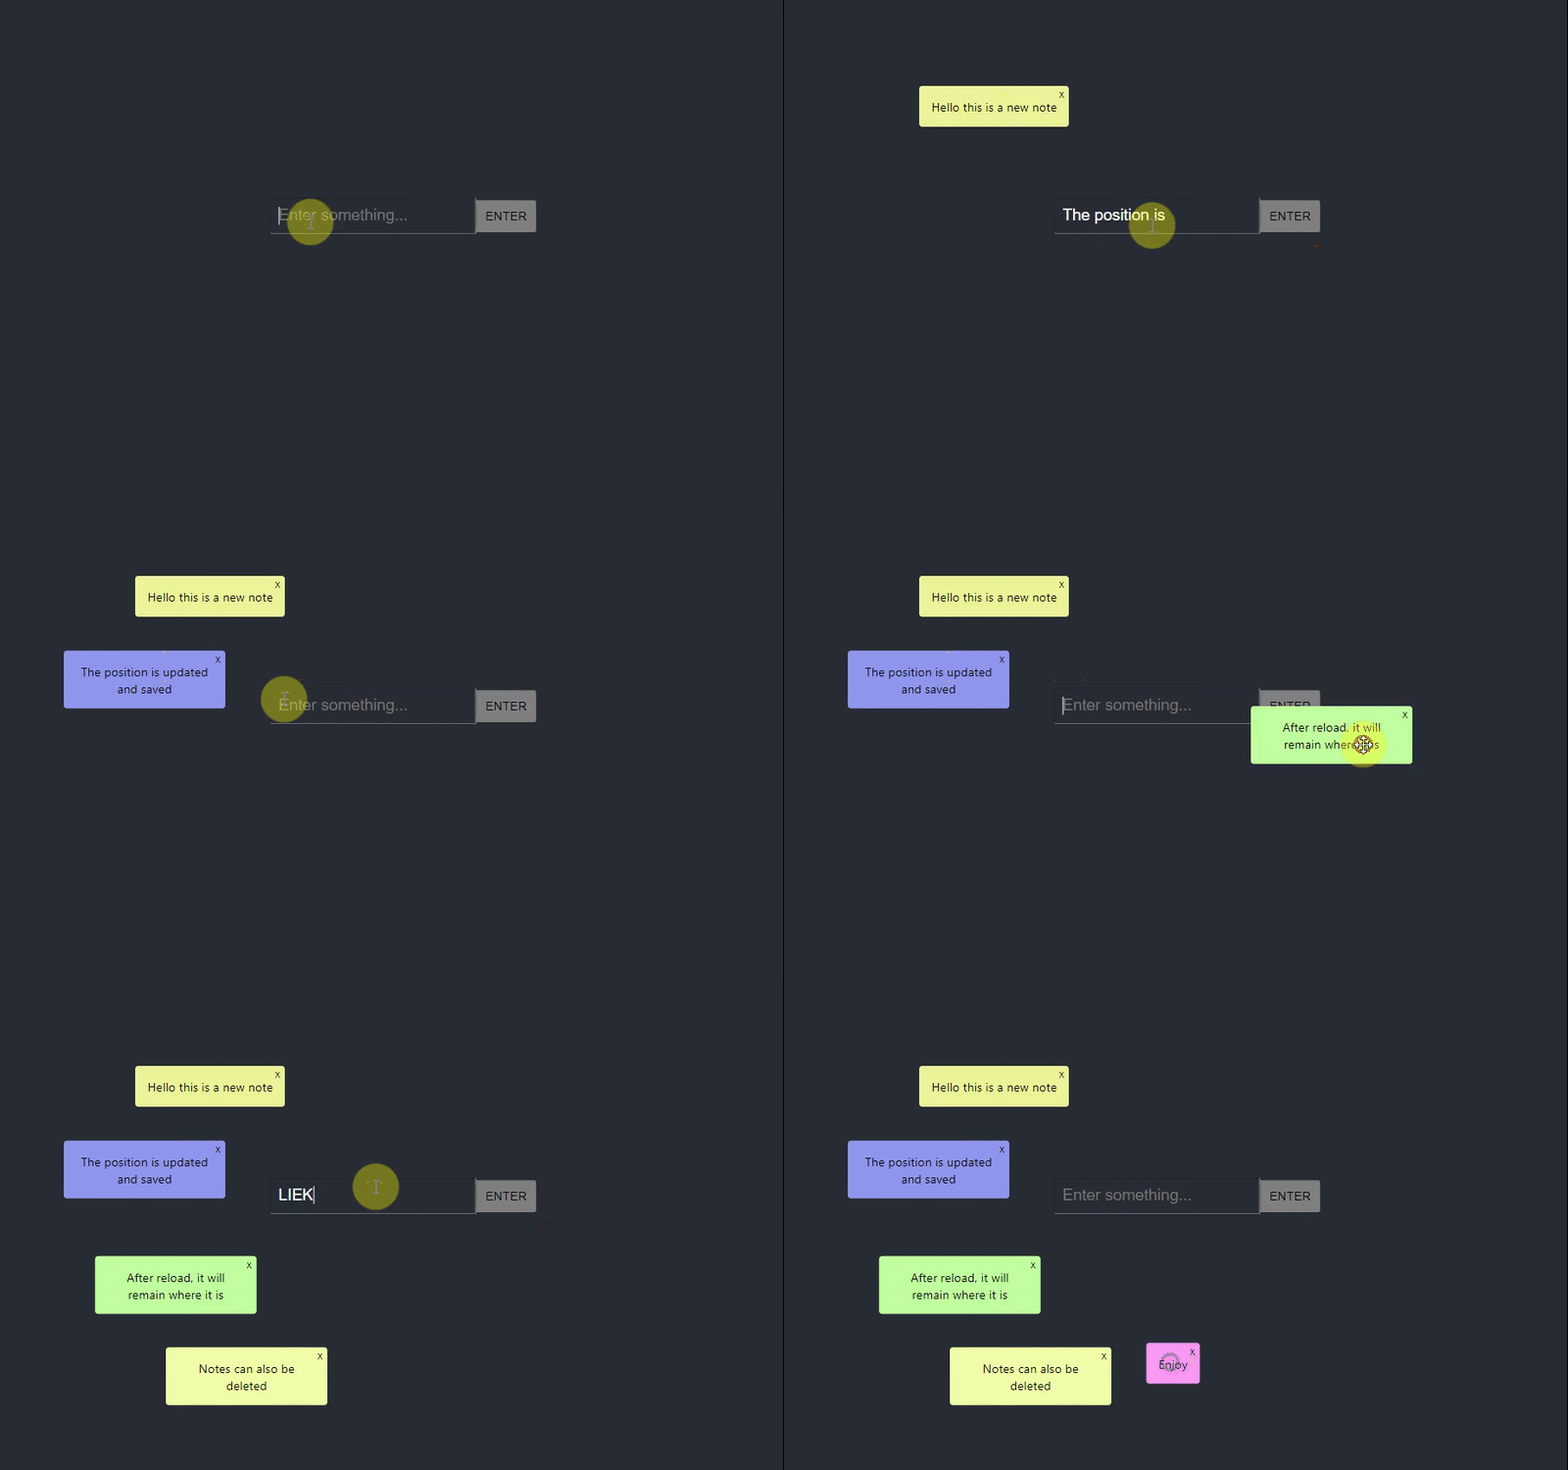
We should now have a simple working bulletin board app like the one below:

Thanks for reading. I hope this is a helpful to implement React Draggable into your projects. For more details on React Draggable, feel free to check out my article Making Draggable Components in React.
Please like and share this article if it is helpful, and leave any questions in the comments below. Check out the demo or the repo of this app. For more information on the packages we used to build this app, feel free to read the section below.
Special thanks to Manas Garg for requesting this article. Sorry it took so long to finally publish. Thanks and cheers!


