
Making Draggable Components in React

Making Draggable Components in React
As user interactivity becomes more prevalent in modern apps, it is sometimes nice to have draggable components implemented in your apps. Think of Trello or website builders like Wix. They have drag-and-drop elements which makes it easy and intuitive for users.
Hello everyone! In this article, I'll be illustrating some simple ways to make draggable components in React using the react-draggable package.
Step 1: Install npm package
After creating your React app with npx create-react-app my-app, run:
npm install react-draggable
Step 2: Add a Draggable Component
In App.js, simply import the Draggable component:
import Draggable from 'react-draggable';
Then wrap the element you want to be draggable in it like so:
<Draggable>
    <div className="box">
        <div>Move me around!</div>
    </div>
</Draggable>
We can add some CSS to the box:
.box {
  position: absolute;
  cursor: move;
  color: black;
  max-width: 215px;
  border-radius: 5px;
  padding: 1em;
  margin: auto;
  user-select: none;
}
And that's it!
That's pretty simple, isn't it? Now let's discuss some cool properties in the Draggable component that you can add to customize the dragging a little bit more.
1. Drag on one axis
The axis property is set to both by default so as seen in the above example, it allows the component to be dragged in any direction. Other values that you can set it to are:
- axis="x": the component can only be dragged horizontally.
- axis="y": the component can only be dragged vertically.
- axis="none": the component cannot be dragged.
An Example
Here's an example when axis = "x":
2. Track the position of the draggable
The onDrag event handler is triggered whenever the component is being dragged. We can use it to track the position of our component.
First, import the useState hook:
import React, { useState } from "react";
Then, initialize the position state to store our position.
const [position, setPosition] = useState({ x: 0, y: 0 });
Next, our 'trackPos' function which will update our position whenever onDrag is triggered.
const trackPos = (data) => {
    setPosition({ x: data.x, y: data.y });
 };
And we will call this function when onDrag is triggered.
<Draggable onDrag={(e, data) => trackPos(data)}>
   <div className="box">
       <div>Here's my position...</div>
       <div>
            x: {position.x.toFixed(0)}, y: {position.y.toFixed(0)}
       </div>
   </div>
</Draggable>
And the result...

3. Draggable only on handle
We can include the handle property to allow drag only on that handle. For example:
<Draggable handle="#handle">
   <div className="box">
      <span id="handle">Drag here</span>
         <div style={{ padding: "1em" }}>Cannot drag here</div>
   </div>
</Draggable>
And the result...

Conclusion
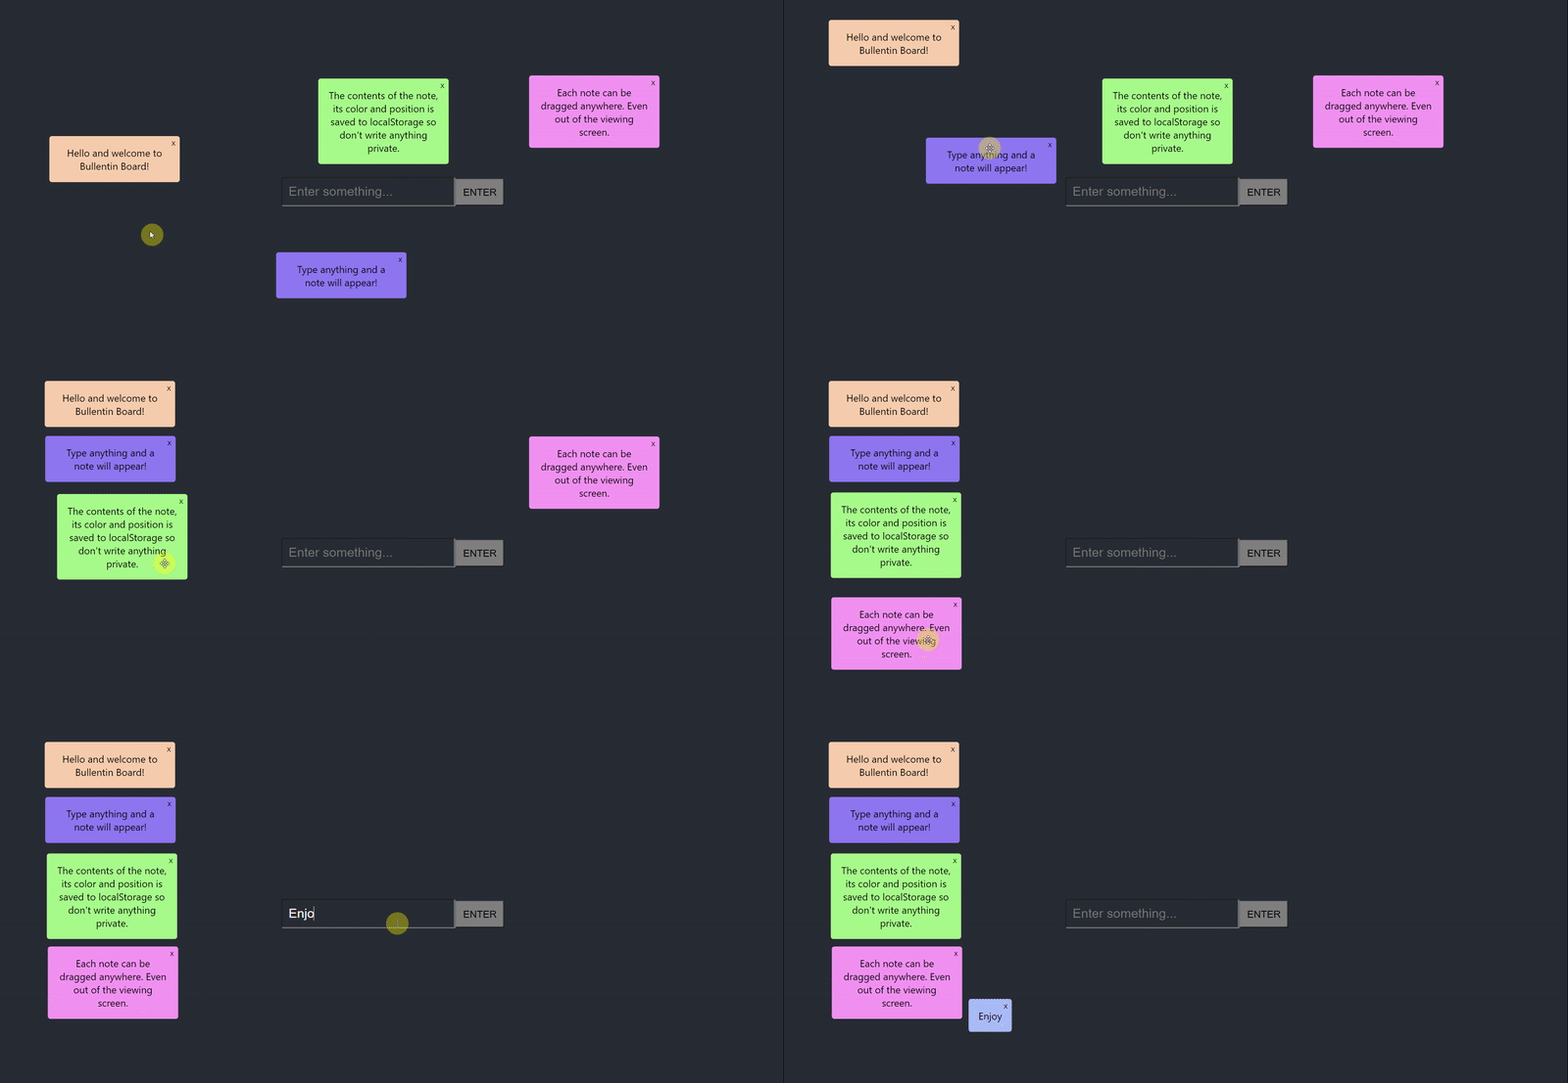
In this article, we are introduced to react-draggable and how we use it to make draggable components. We have also discussed a few of its many properties that can further customize the draggable component. Having draggable elements is useful to build interactive apps. Check out this mini project I made of a bulletin board app that utilizes draggable features. See its repo for the code.
For more information regarding react-draggable, check out its documentation here. I hope this article has been helpful. Please like and share if it is. Feel free to ask any questions or share any projects you've made with this package in the comments below. Cheers!


