GraphQL for Beginners: Implementing a Robust Payment System
When integrating a payment system on your app or website, a GraphQL API offers many benefits such as its simple yet powerful and flexible capabilities.
In this article, let's look at how we can implement a robust payment system using the Braintree GraphQL API, the next-generation API for payments.
Welcome to another GraphQL for Beginners article, a series dedicated to help any developer get familiar with GraphQL.
Prerequisites
Intermediate React and JavaScript knowledge
Understanding of GraphQL, how it works and mutations (if not, see this article)
Node and npm installed in machine
Any code editor
Braintree sandbox account (sign up here)
Step 1: Install packages
In a new React project, install the packages we need by running:
npm install braintree-web-drop-in-react @apollo/client graphql
Step 2: Initialize Apollo Client
In index.js, we initialize the ApolloClient and setup an authorization header with your Braintree credentials when calling API requests.
To initialize the ApolloClient, we must code the following:
Import modules we need
Specify the
httpLinkwith auri. This will be the Braintree sandbox GraphQL server, where we will make our requests to.Create the
authLinkto allow making API calls with your Braintree sandbox credentialsInitialize the ApolloClient as
clientWrap
Appcomponent with theApolloProvidercomponent, and passclientas its prop.
Note: authLink is basically the authorization header, which is appended to the httpLink when setting up ApolloClient. This ensures that we have permission to call the Braintree GraphQL API.
This what our index.js will look like:
import React from 'react'
import { createRoot } from 'react-dom/client';
import App from './App'
import './index.css'
//1. Import modules we need
import {
  ApolloClient,
  InMemoryCache,
  ApolloProvider,
  createHttpLink
} from "@apollo/client";
import { setContext } from '@apollo/client/link/context';

//2. Set uri to where we will make requests to
const httpLink = createHttpLink({
  uri: 'https://payments.sandbox.braintree-api.com/graphql',
});

const encodeBase64 = (str) => {
  return window.btoa(unescape(encodeURIComponent(str)));
};

//3. Authorization header to allow access to API with our sandbox creds
const authLink = setContext((_, { headers }) => {
  return {
    // pass authorization in headers
    headers: {
      ...headers,
      authorization: "Basic " +
       //get our creds from .env file
      encodeBase64(
   `${process.env.REACT_APP_PUBLIC_KEY}:${process.env.REACT_APP_PRIVATE_KEY}`
      ),
    "Braintree-Version": "2019-12-17", //required as read from docs
    "Content-Type": "application/json", //required as read from docs
    }
  }
});

//4. Initialize client
const client = new ApolloClient({
  link: authLink.concat(httpLink),
  cache: new InMemoryCache()
});

//5. Wrap App with ApolloProvider
const root = createRoot(document.getElementById('root'));
root.render(
  <ApolloProvider client={client}>
      <App />
  </ApolloProvider>
);
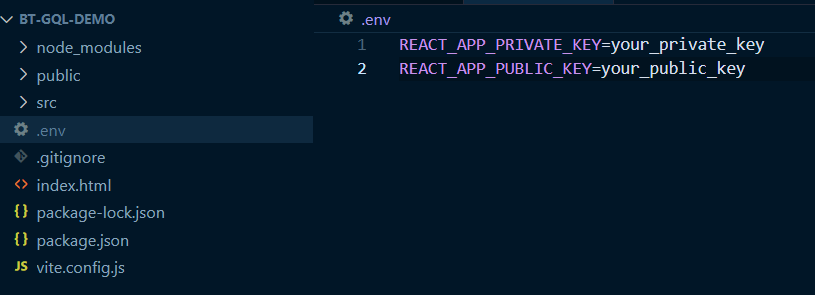
As seen from the code above, our sandbox credentials can be stored in an .env file, which we create in our root directory. Below is an example of what the .env file contains.
Where do I retrieve Braintree credentials?
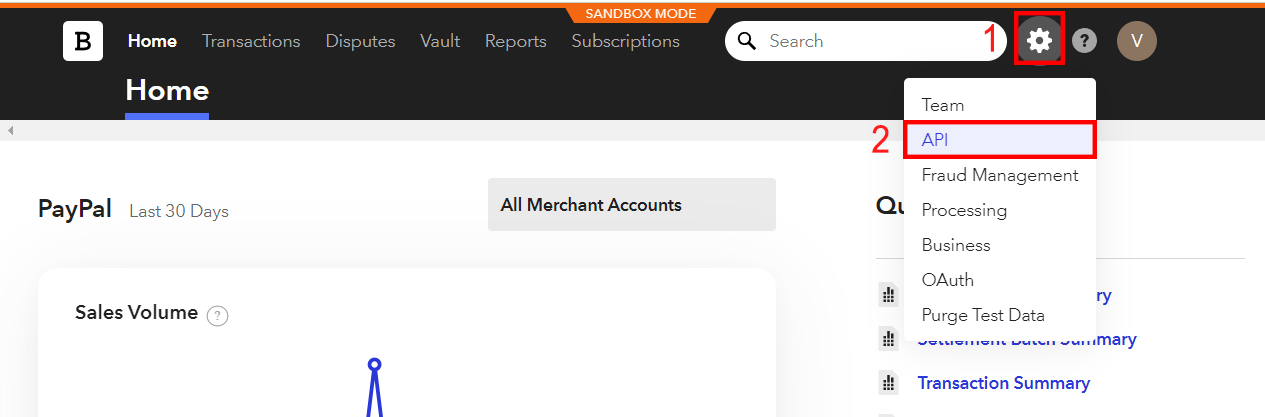
To get your Braintree public key and private key for this step, login to your sandbox account.
Then, click on the gear icon on the top-right, select API.
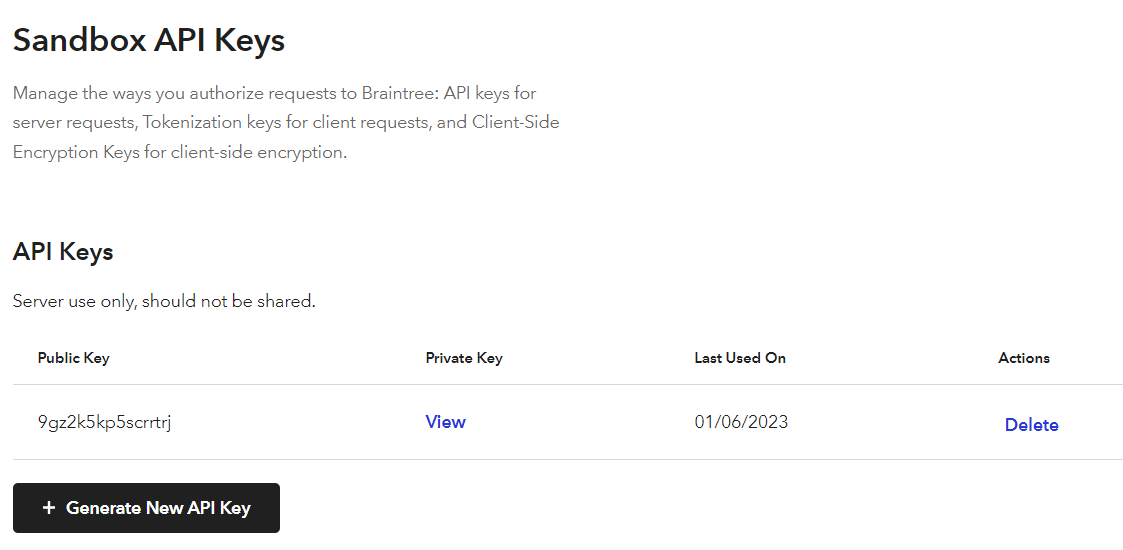
Now you should be navigated to a page where you can copy your public key and private key.
Step 3: App.js
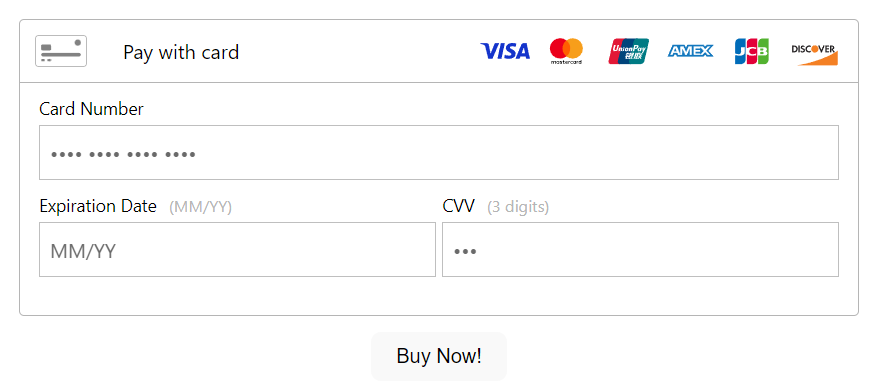
Braintree offers DropIn UI so that it is convenient for websites to accept payments quickly without having to make their own card payment fields from scratch. A simple DropIn Card form will look like:
In our App.js, we want to initialize our DropIn UI as shown in the code below:
import DropIn from "braintree-web-drop-in-react";

function App() {
  const [instance, setInstance] = useState(null)
  const [clientToken, setClientToken] = useState("");

  return (
    <div className="App">
      <DropIn
        options={{authorization: clientToken}}
        onInstance={(instance) => setInstance(instance)}
      />
      <button>Buy Now!</button>
    </div>
  )
}

export default App
If we run this app now, the DropIn UI will not render because we have not generated and passed a clientToken in the DropIn component yet.
To generate a clientToken, let's create our first GraphQL Mutation.
If you need a refresher on Mutations, read this article.
Step 4: Create Client Token
Let's create a new file called Mutations.js. This is where we can write all our mutations in.
Our first mutation will be the createClientToken mutation as seen in the Braintree GraphQL docs.
//Mutations.js
import { gql } from "@apollo/client";

export const CREATE_CLIENT_TOKEN = gql`
  mutation createClientToken ($input: CreateClientTokenInput) {
    createClientToken (input: $input) {
      clientToken
    }
}
`;
Now back in App.js, let's import the mutation CREATE_CLIENT_TOKEN and import the useMutation Hook so that we can execute the mutation.
//App.js - add these 2 import lines
import { CREATE_CLIENT_TOKEN } from "Mutations";
import { useMutation } from "@apollo/client";
//and import useEffect
import { useState, useEffect } from "react";
Then we call the useMutation Hook to execute the mutation. The data we get from the mutation will be set as the clientToken.
//useMutation to execute the mutation.
//On completed, the clientToken variable will be set
const [createClientToken] = useMutation(CREATE_CLIENT_TOKEN, {
    onCompleted: (data) => {
      setClientToken(data.createClientToken.clientToken);
    },
    onError: (error) => {
      alert(error);
    },
});

//below, we make sure DropIn only renders if clientToken is created
return (
    <div className="App">
      {clientToken && <DropIn
        options={{authorization: clientToken}}
        onInstance={(instance) => setInstance(instance)}
      />}
      <button>Buy Now!</button>
    </div>
  )
Now we will call the mutation as soon as the app loads using the useEffect Hook.
If you need a refresher on the useEffect Hook, check out this Introduction to useEffect article.
//App.js
useEffect(() => {
    createClientToken();
  }, [])
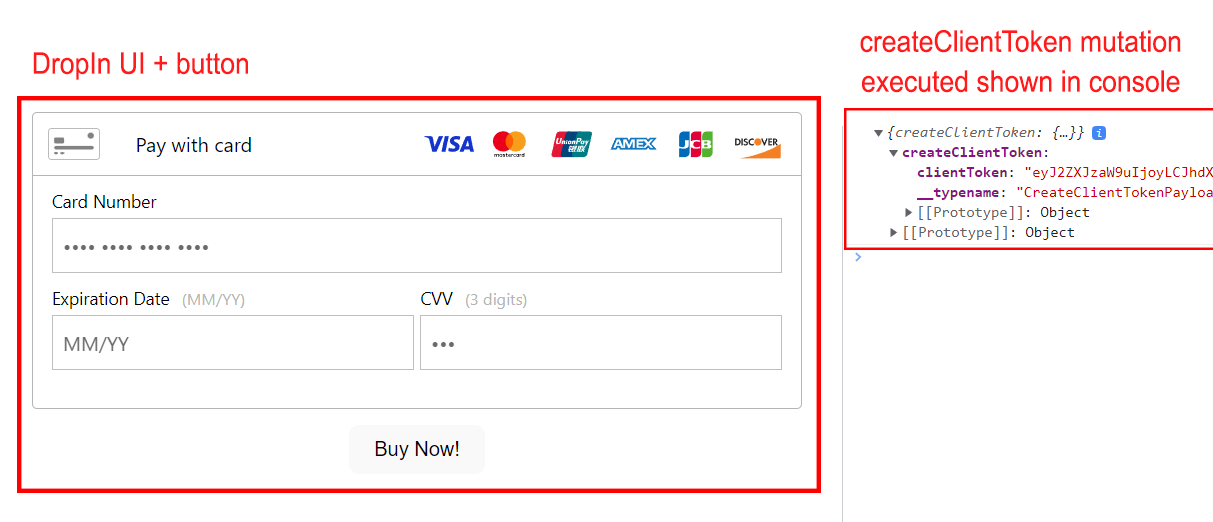
And now, if we run the app, we can see that when the clientToken is successfully generated, the DropIn UI will show:
Step 5: Charge
Now all that's left is to execute the ChargePaymentMethod mutation so Braintree can process the transaction. We can execute this mutation when the user clicks the 'Buy Now!' button.
Let's add another mutation in our Mutations.js file.
//Mutations.js
export const CHARGE = gql`
  mutation ChargePaymentMethod($input: ChargePaymentMethodInput!) {
    chargePaymentMethod(input: $input) {
      transaction {
        id
        legacyId
        amount {
          value
          currencyCode
        }
        status
      }
    }
  }
`;
Same as before, we go back to App.js to import this mutation and call it.
//App.js
//add the CHARGE mutation
import { CREATE_CLIENT_TOKEN, CHARGE } from "./Mutations.jsx";

//add the useMutation function to call CHARGE
const [chargePaymentMethod] = useMutation(CHARGE, {
    onCompleted: (data) => {
      alert("Payment Successful");
      console.log(data);
    },
    onError: (error) => {
      console.log(error);
      alert(error);
    },
  });
Finally, we should have our button calling this useMutation Hook when it is clicked. Let's create a buyNow function for our button.
const buyNow = async () => {
    //first, get the nonce (payment details) after user clicks the button
    const { nonce } = await instance.requestPaymentMethod();
    //then, execute the mutation to process the transaction
    chargePaymentMethod({
      variables: {
        input: {
          paymentMethodId: nonce,
          transaction: {
            amount: 1, //hardcoded for this demo
          },
        },
      },
    });
  };

//pass buyNow in the button's onClick attribute
return (
    <div className="App">
      {clientToken && <DropIn
        options={{authorization: clientToken}}
        onInstance={(instance) => setInstance(instance)}
      />}
      <button onClick={buyNow}>Buy Now!</button>
    </div>
  )
Result
Let's use a test card and run the app. The result is shown in the clip below.
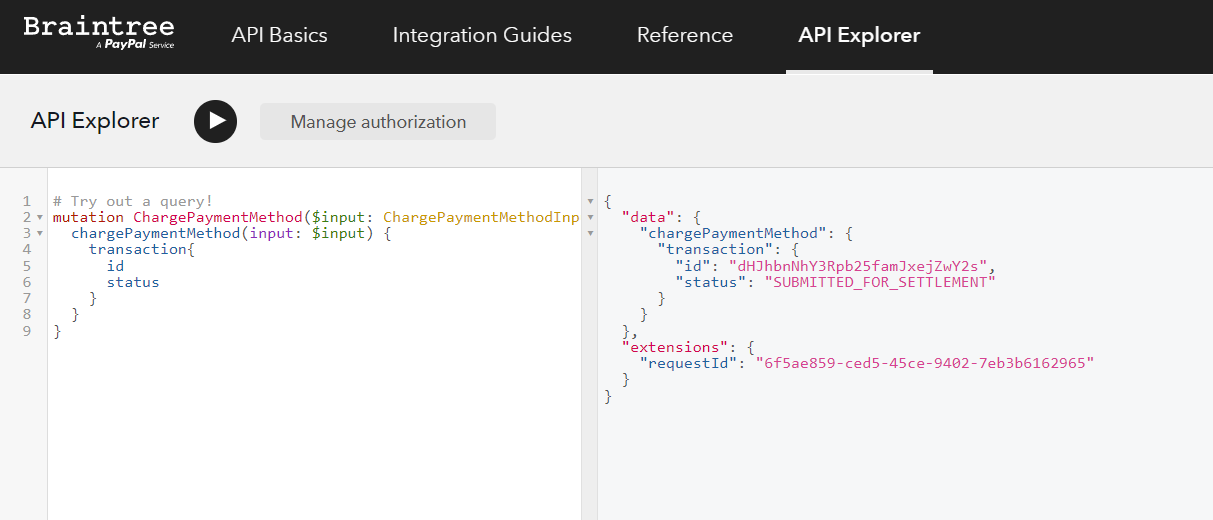
As seen in the clip above and the screenshot below, the chargePaymentMethod is executed upon clicking the button. This mutation processes the transaction and the status is SUBMITTED_FOR_SETTLEMENT, which means it is a success.
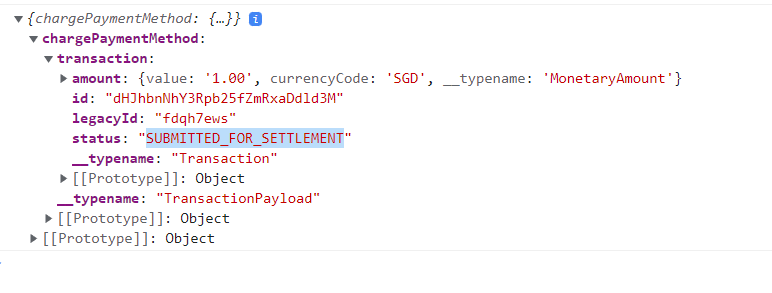
We can double-check the transaction in our Braintree sandbox account. Login and check that the transaction is there. The transaction id (i.e. fdqh7ews) from this demo is properly recorded and received.

Conclusion
In this article, we have learned how to implement a payment system using Braintree's GraphQL API easily with its DropIn UI.
I hope it has helped you in getting started exploring the Braintree GraphQL API. There are many features that I haven't covered in this article that Braintree offers to give any business a secure and easy-to-setup payment gateway and system. Do check out their GraphQL API Explorer to see more.
Thanks for reading! If you have any questions, do let me know in the comments or refer to the References section below. Cheers!


