How to Build a Next.Js E-Commerce Website with Medusa
E-commerce solutions have become essential in today's digital era, as they provide businesses with the ability to reach a global audience, streamline operations, and enhance the overall shopping experience for customers.
In this article, we’ll learn how to build a full-stack Medusa-powered website. We will first set up a Medusa backend and admin dashboard, and then create a storefront to display and sell items using Medusa’s Next.js storefront template.
Introduction to Medusa
Medusa is a flexible and adaptable open-source e-commerce framework designed to streamline the development of modern online retail platforms.
By providing a customizable architecture and a rich set of features, Medusa empowers developers to create unique, scalable, and high-performance e-commerce solutions tailored to their specific needs.
Medusa Architecture
Medusa architecture consists of a core API layer, plugins, storage adapters, and frontend integration. The Medusa backend allows you to easily connect to a database such as PostgreSQL and plugins such as commerce, products, or sale modules provide powerful, out-of-the-box functionality and act as building blocks of the e-commerce website.

In this article, we'll learn how to build a full-stack Medusa-powered website. We will first set up a Medusa backend and admin dashboard, and then create a storefront to display and sell items.
Prerequisites
Intermediate knowledge of JavaScript and databases
Basic understanding of React or Next.js
Node.js v16+ installed (if you haven't installed, click here)
PostgreSQL installed (if you haven't installed, click here)
If you need a more detailed guide on how to install PostgreSQL, this video would be helpful.
Step 1: Create backend with Medusa App
First, install the Medusa backend with the following command:
npx create-medusa-app@latest
You will then be asked to name your project and connect to a Postgres database. Finally, you create an email for your Medusa admin dashboard. This dashboard helps you to create new products, view all your orders and manage them.

Once the Medusa app is successfully created, you will be redirected to a window.
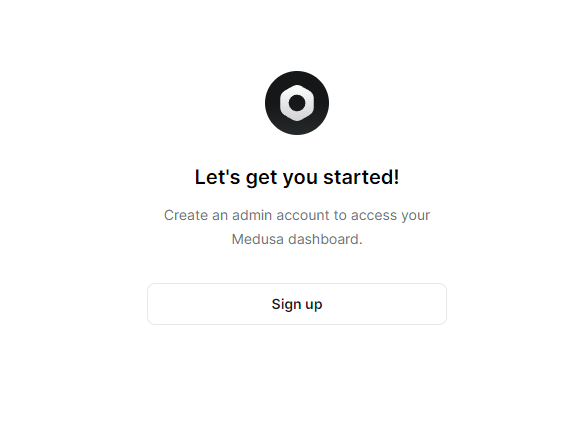
Follow through the steps carefully and create your admin account for Medusa. You can use your own email and password or use their default credentials.
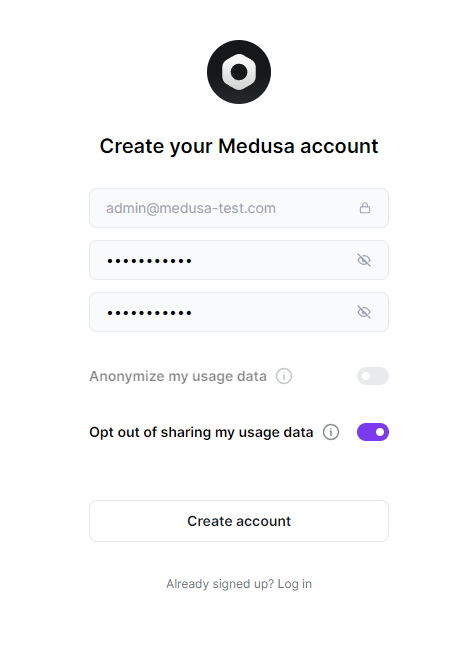
The default admin credentials will be:
email: admin@medusa-test.com
password: superuser
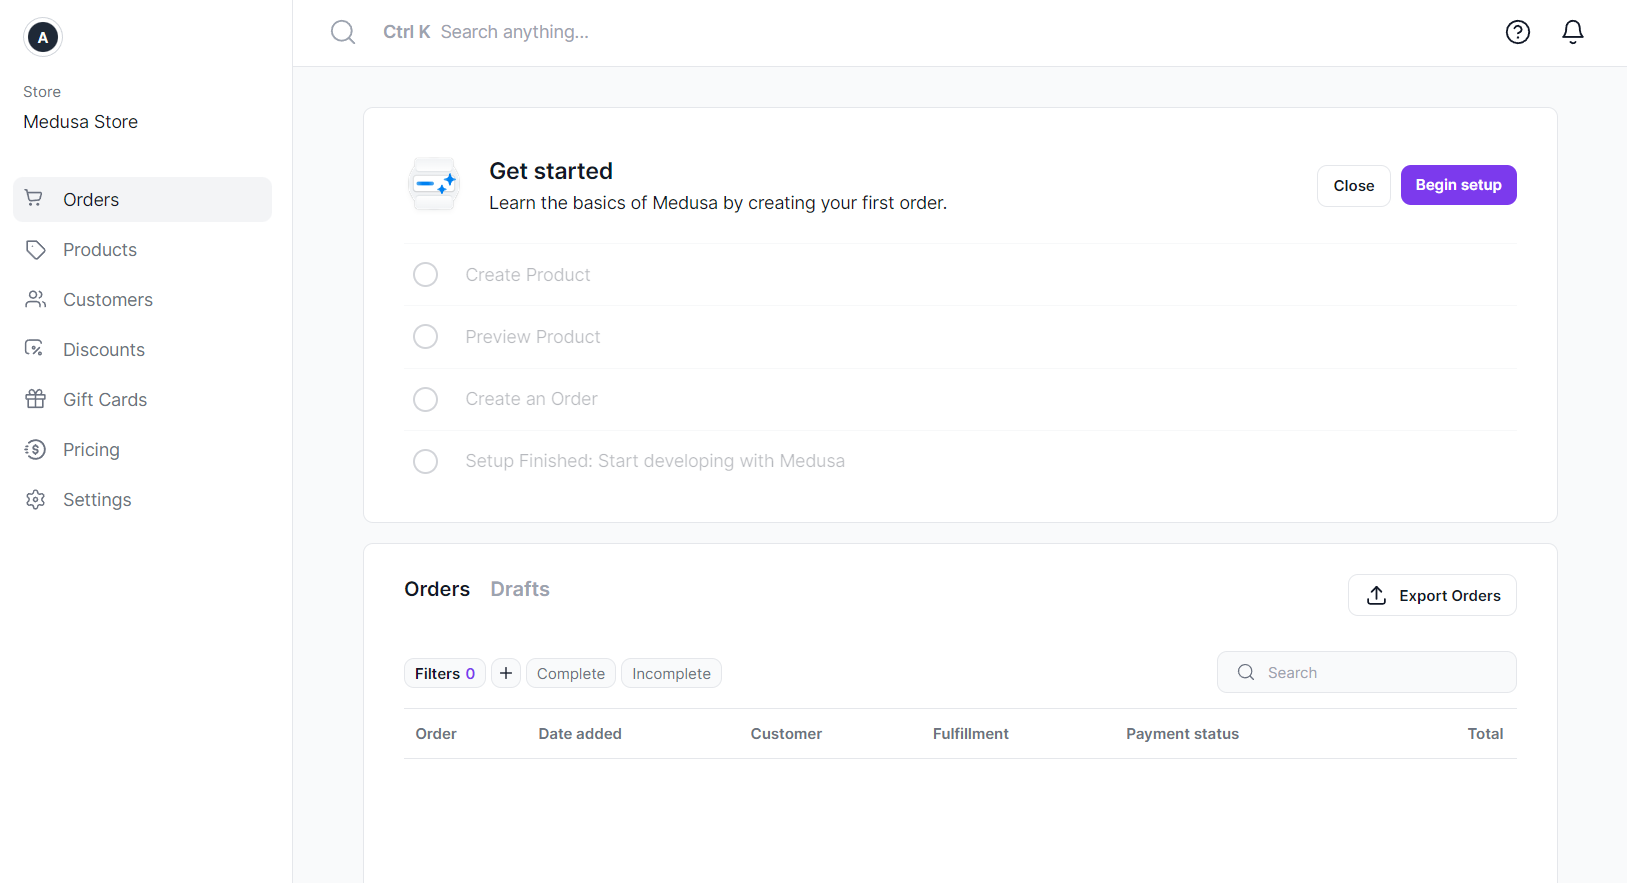
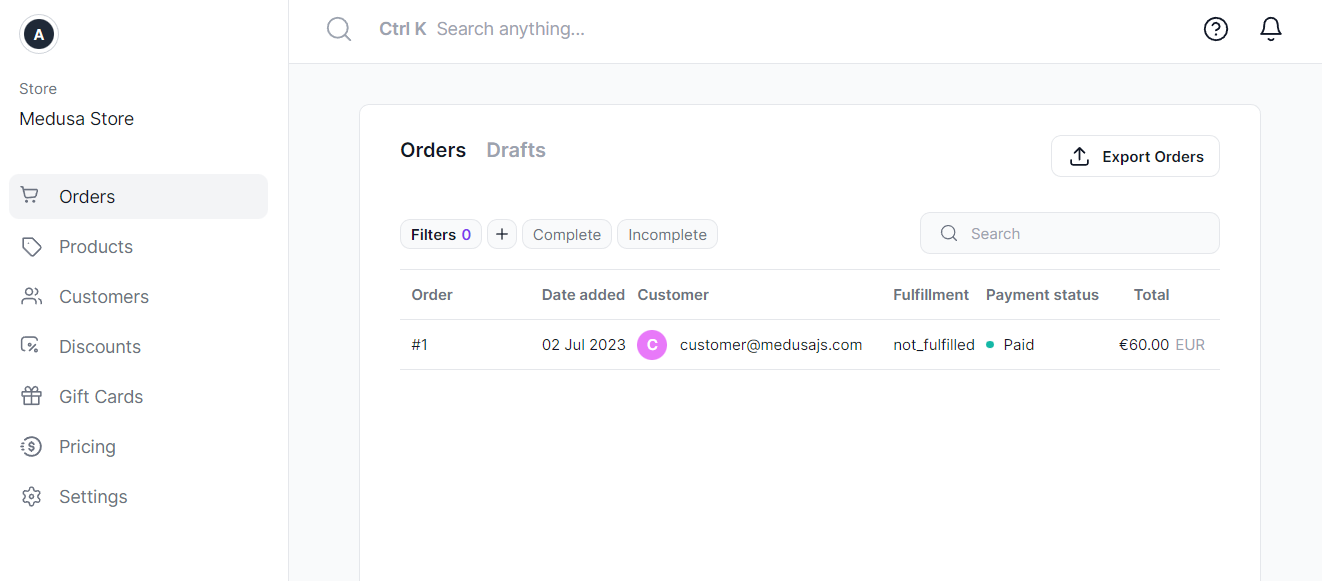
Once you logged in the dashboard, you should see something like the screenshot below. You can take some time to familiarize and navigate the admin dashboard. Then follow the steps provided by the 'Get Started' section.
Whenever you need to launch the admin dashboard next time, simply run:
npm run dev
The admin dashboard offers you some quick-start tips. You can effortlessly create a test order and customer.
Step 2: Create Storefront
Medusa is a simple yet powerful e-commerce toolkit that comes with a Next.js starter template. Using the template, you can build an e-commerce website easily.
First, run the following command:
npx create-next-app -e https://github.com/medusajs/nextjs-starter-medusa my-medusa-storefront
Then run the code below to open the website:
cd my-medusa-storefront
npm run dev
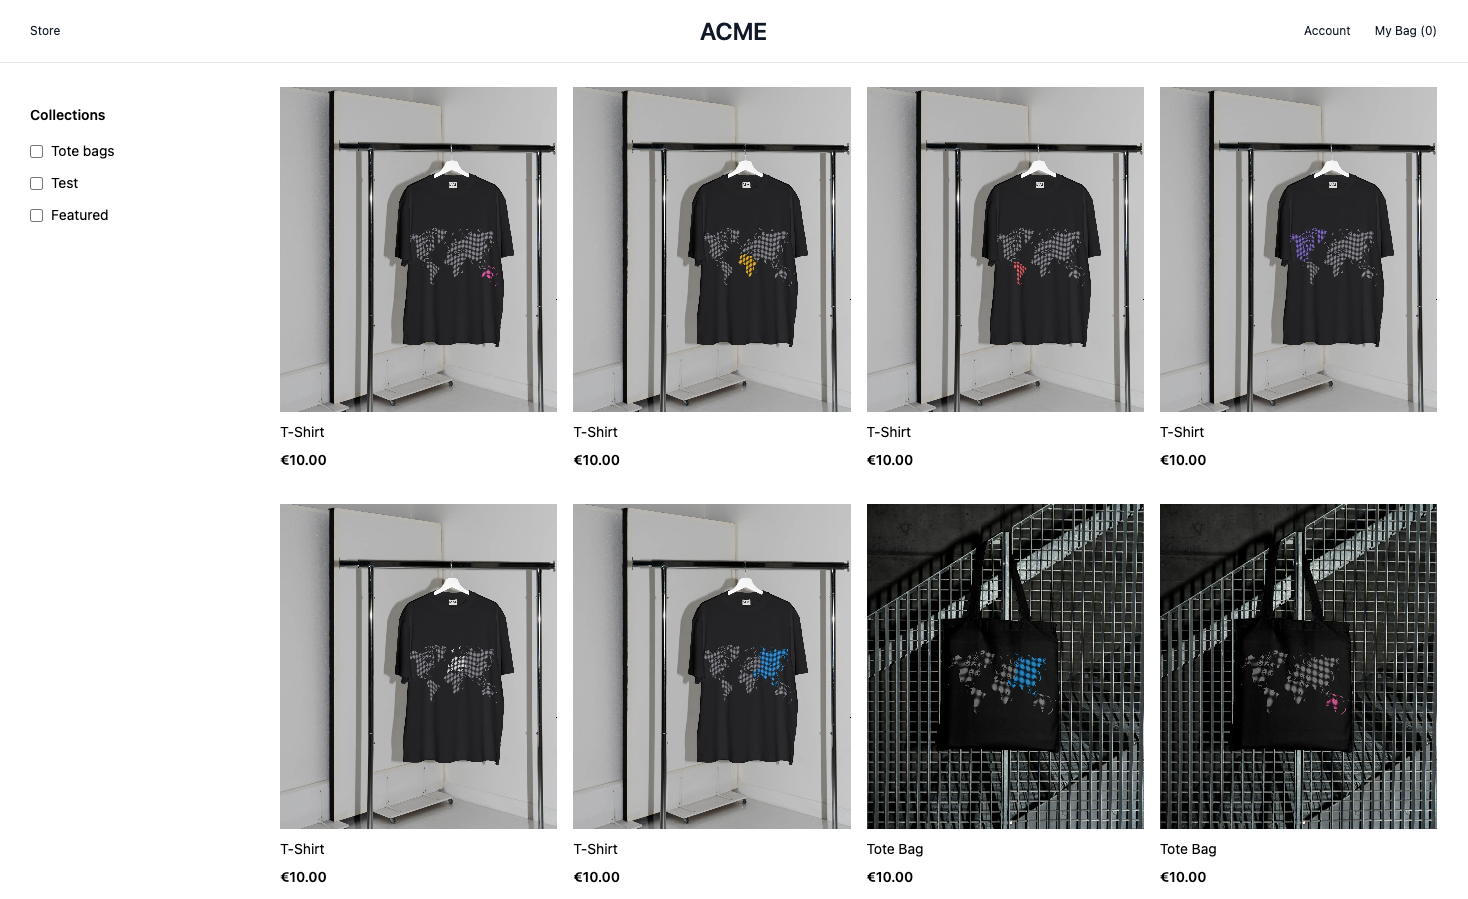
As you can see, the storefront directly gets data from the admin dashboard. It will display whatever products you have added in the backend.
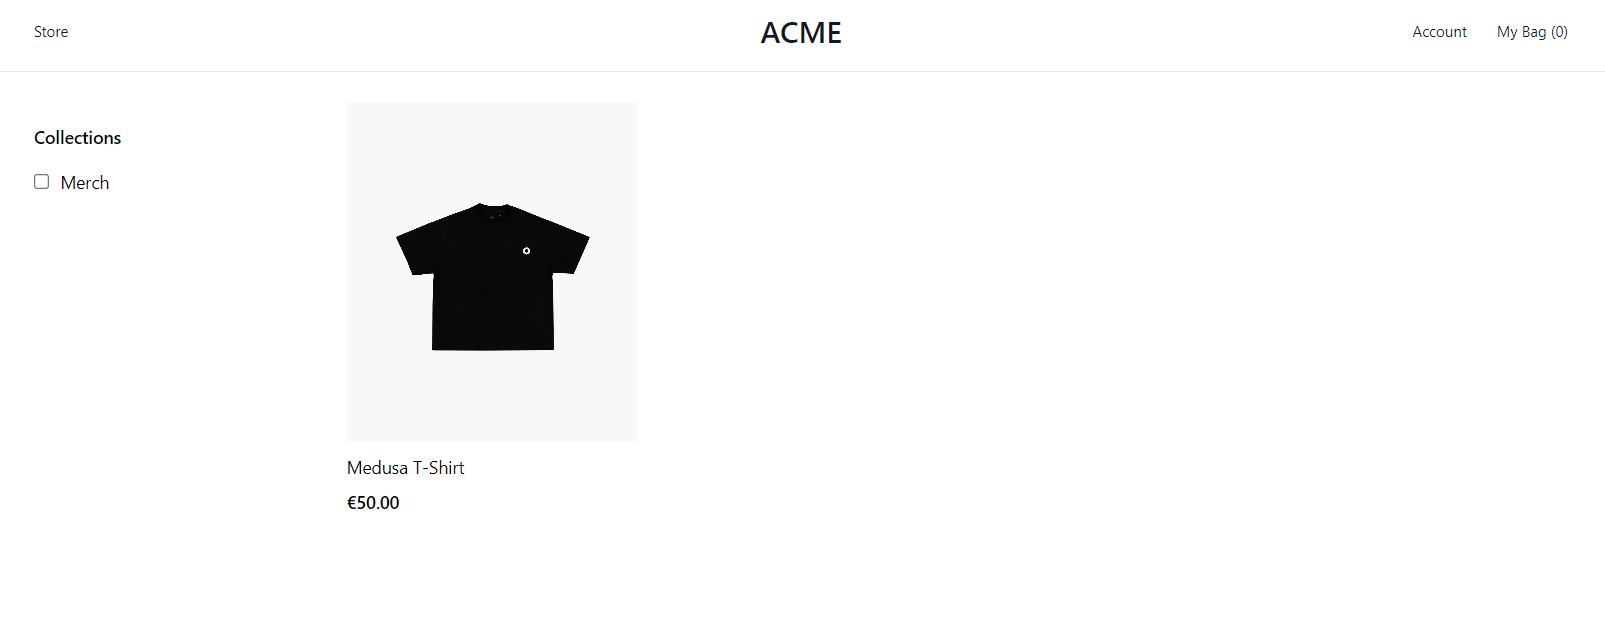
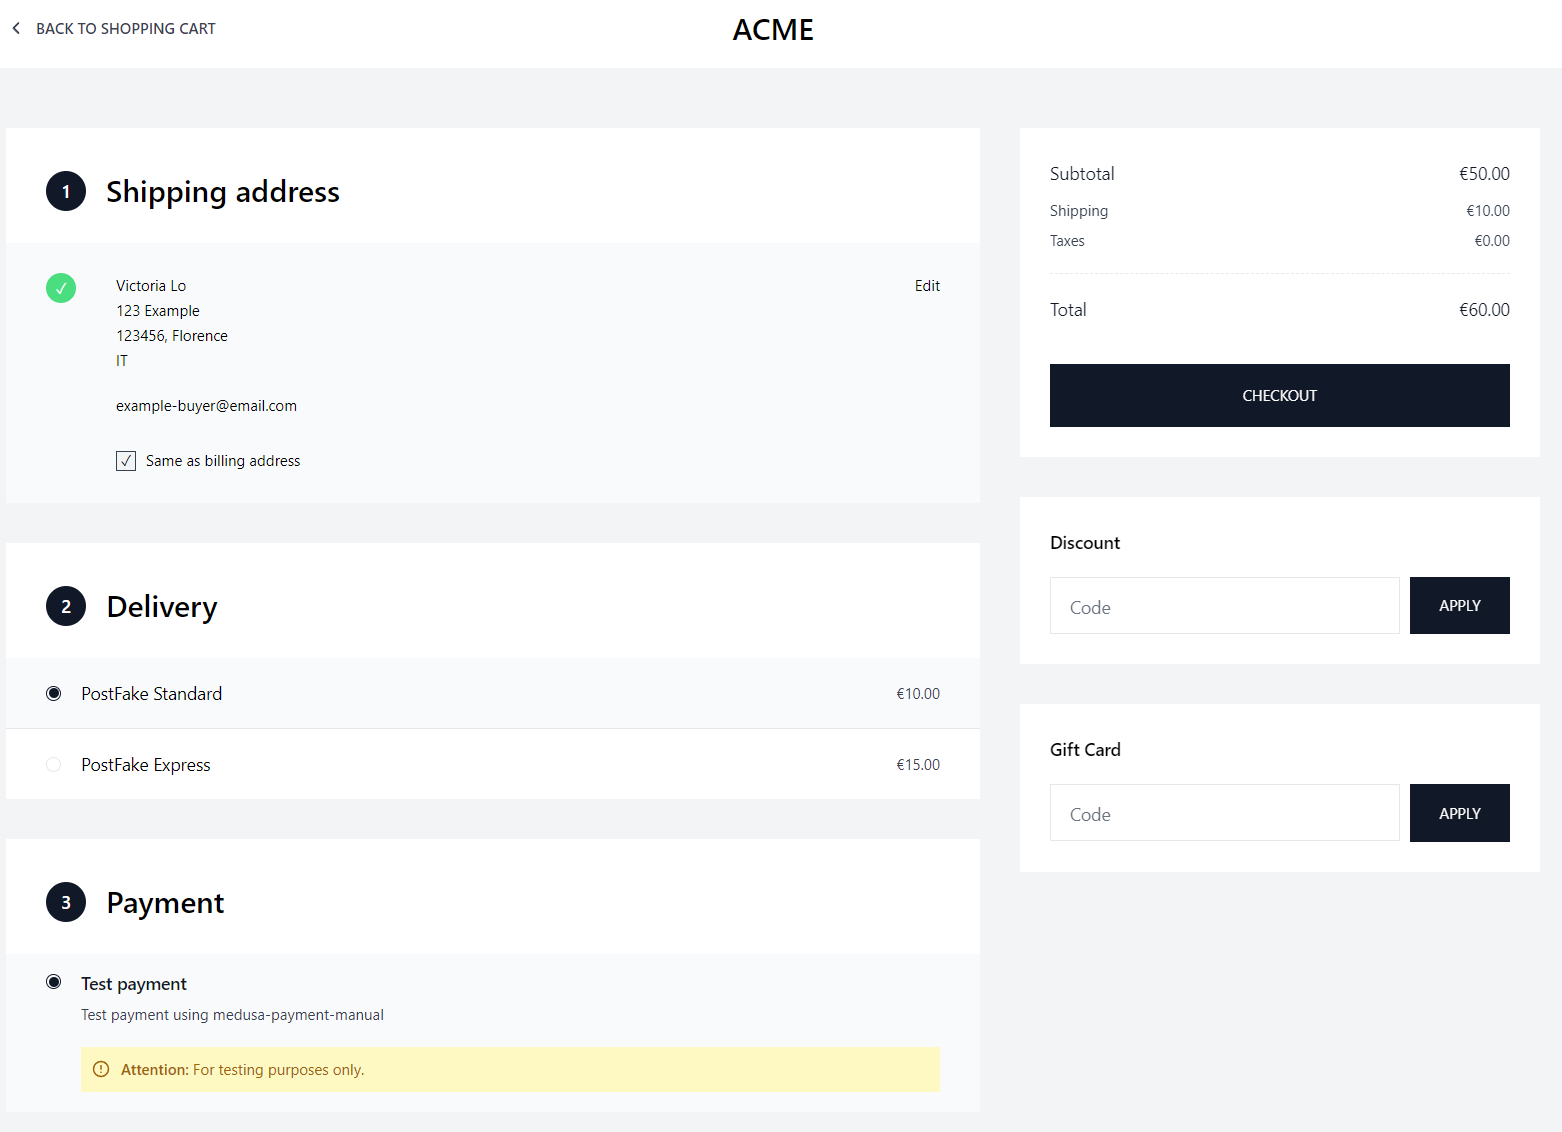
The template is fully functional and customizable! You can even simulate a checkout flow.

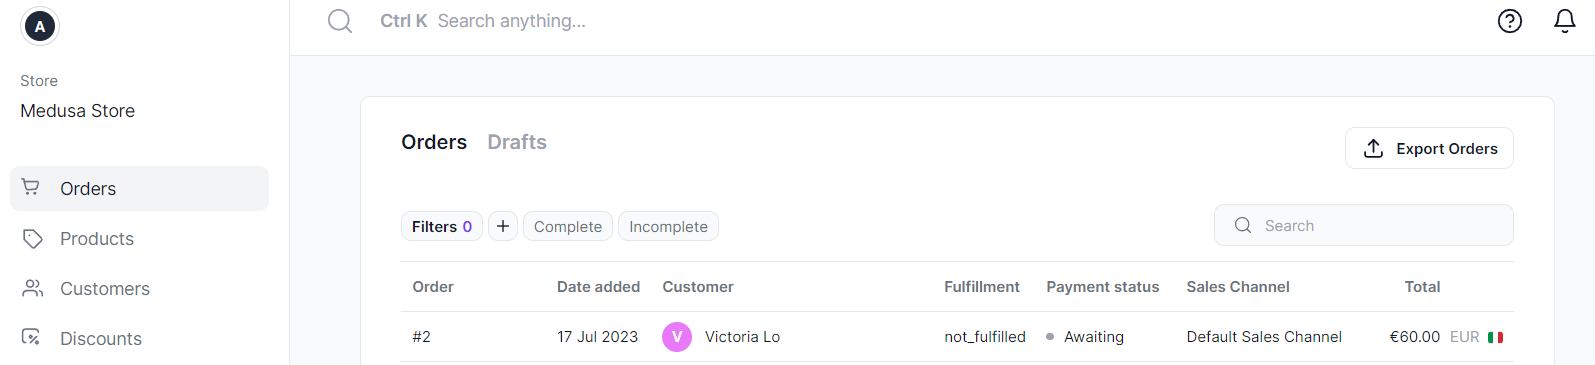
When you checkout on the payment page, the order will also be immediately reflected on your admin dashboard.
Here's the transaction I just made on the admin dashboard. The simulation process is smooth and convenient.
Step 3: Customize
Now that we have a working full-stack e-commerce website, let's add more products to customize our online store.
Easy Product Customization
To add demo data, simply run in the backend:
npm install @medusajs/medusa-cli -g
medusa seed --seed-file=data/seed.json
Now you will have many products in your store.
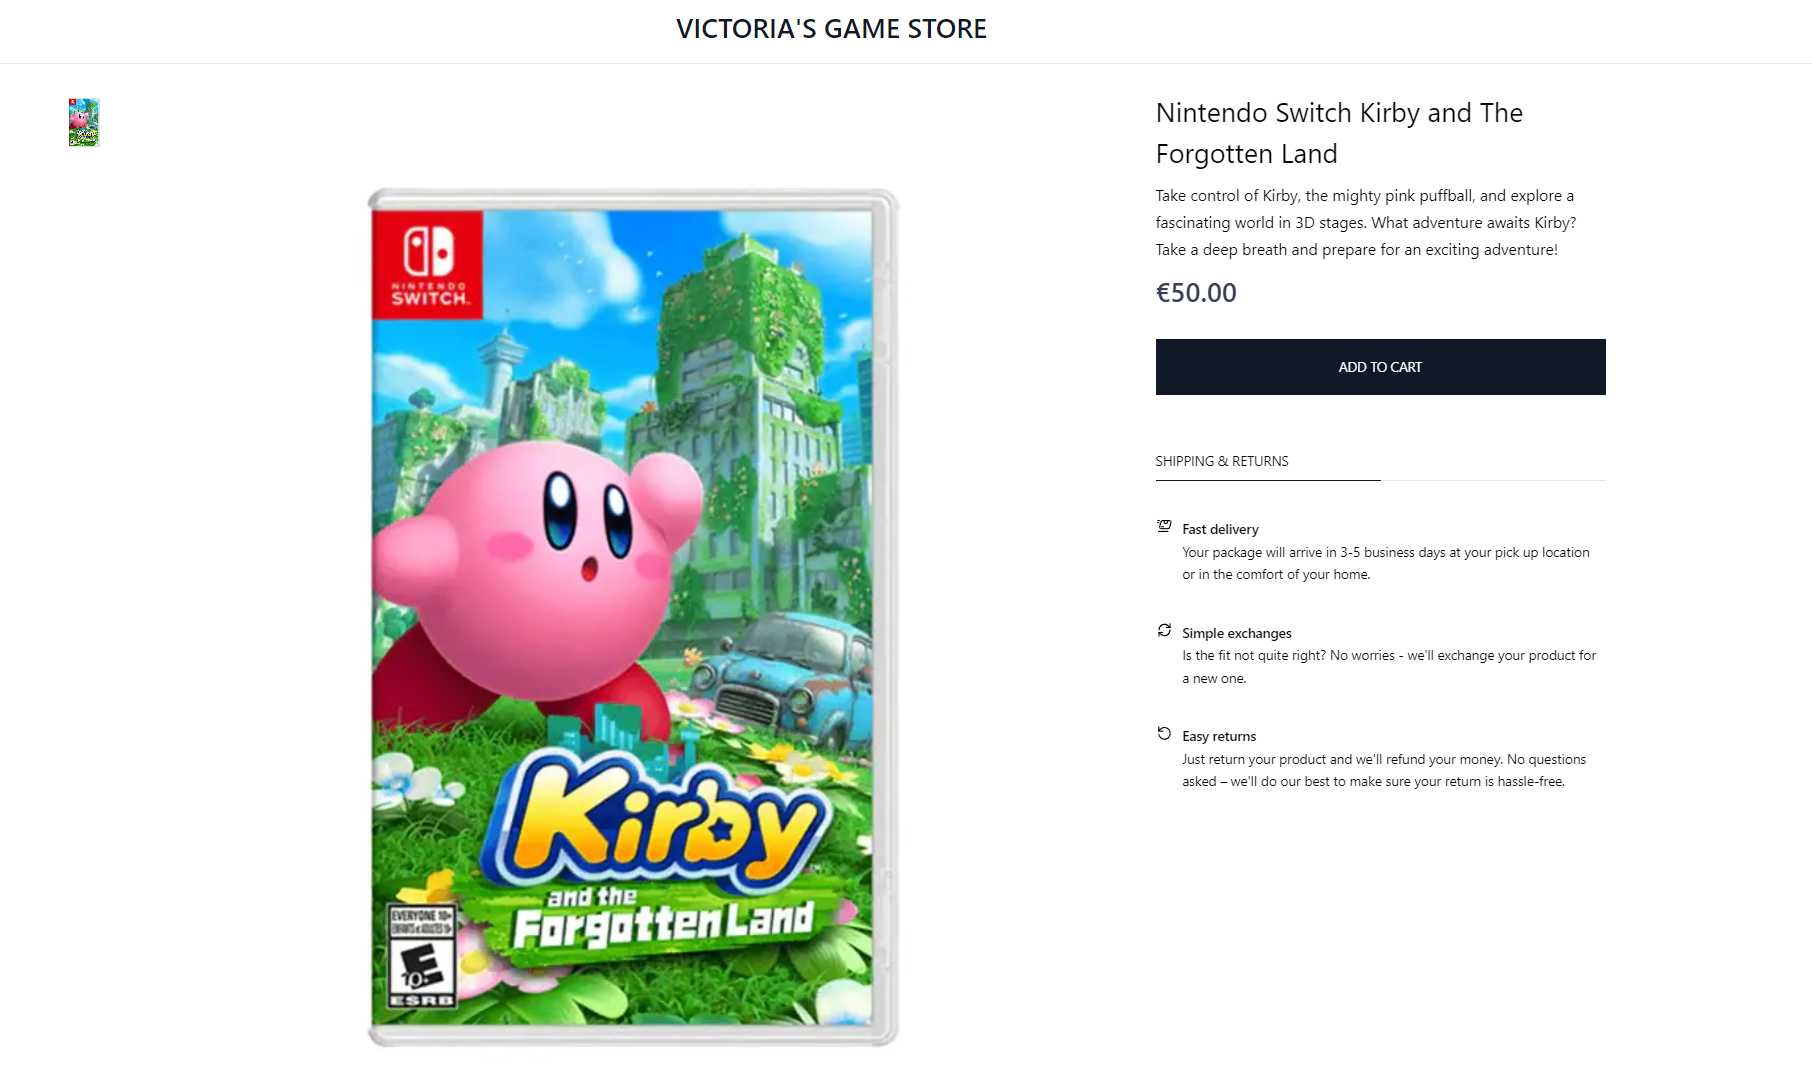
Alternatively, you can add your own products to your Medusa site. Let's say now instead of a clothing store, I want to start a game store.
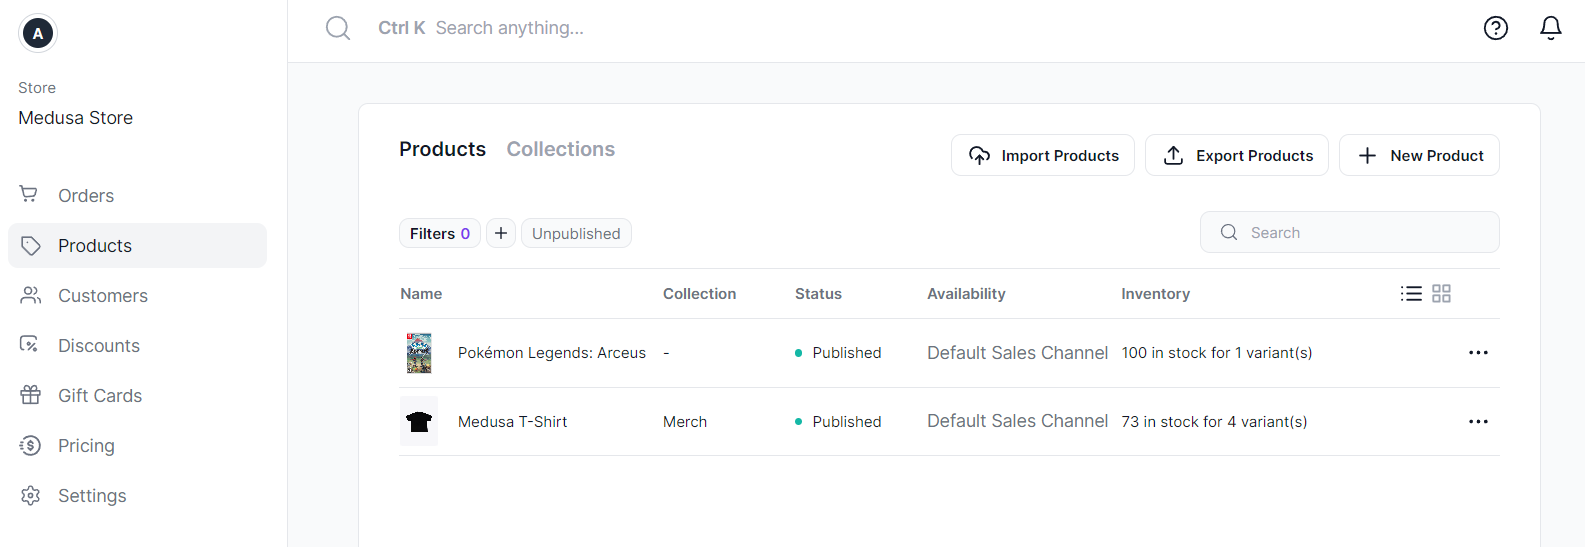
To add new products, simply head to the Products tab in your Admin dashboard. Click on the 'New Product' button at the top-right corner.
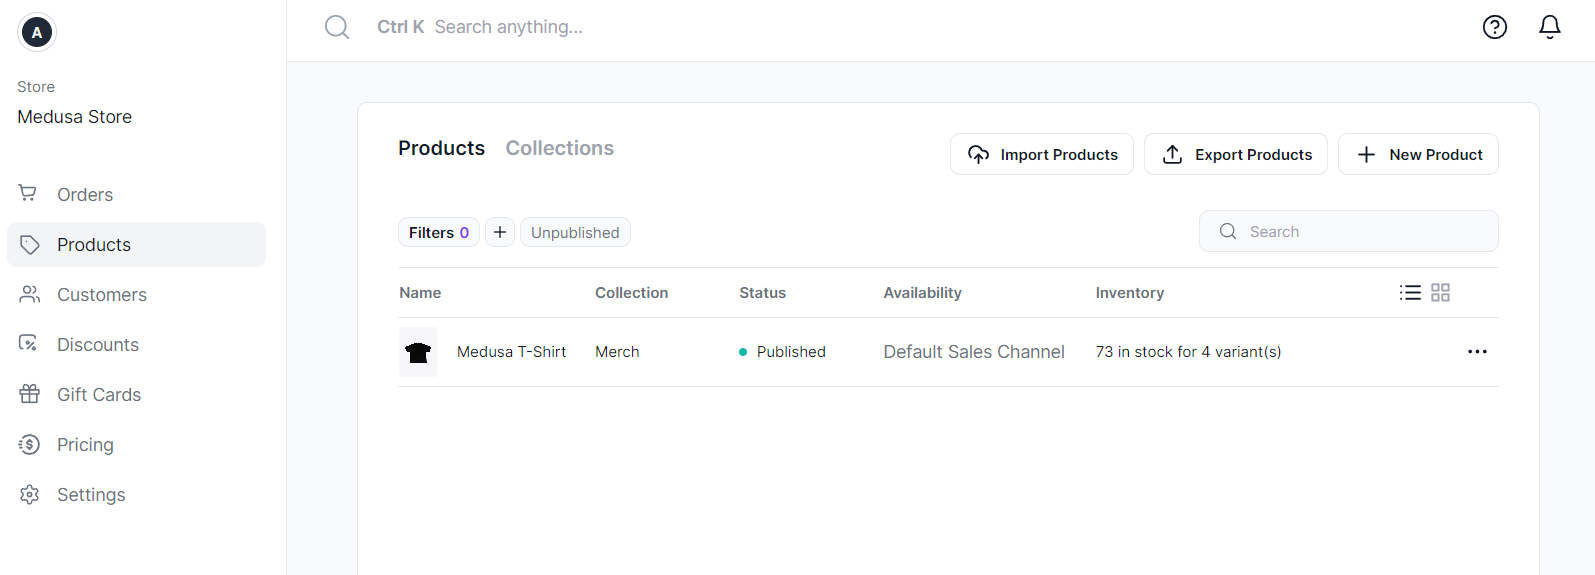
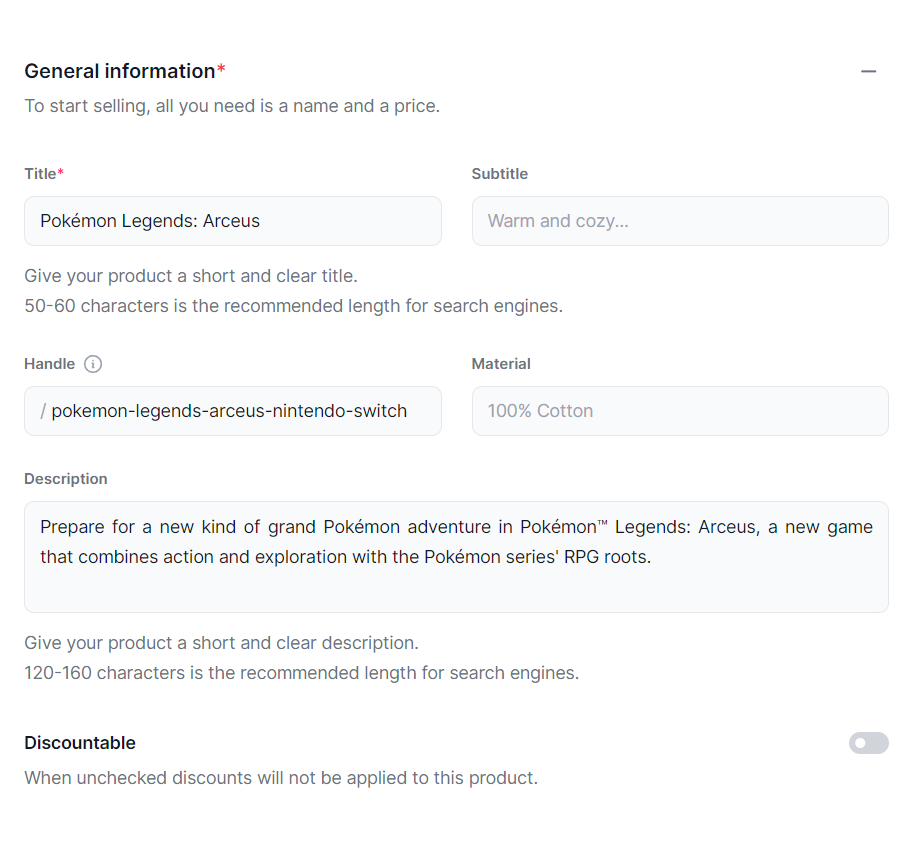
You will see a form that allows you to add the information Medusa needs about your product. Everything is pretty straightforward and the process is very quick and simple.
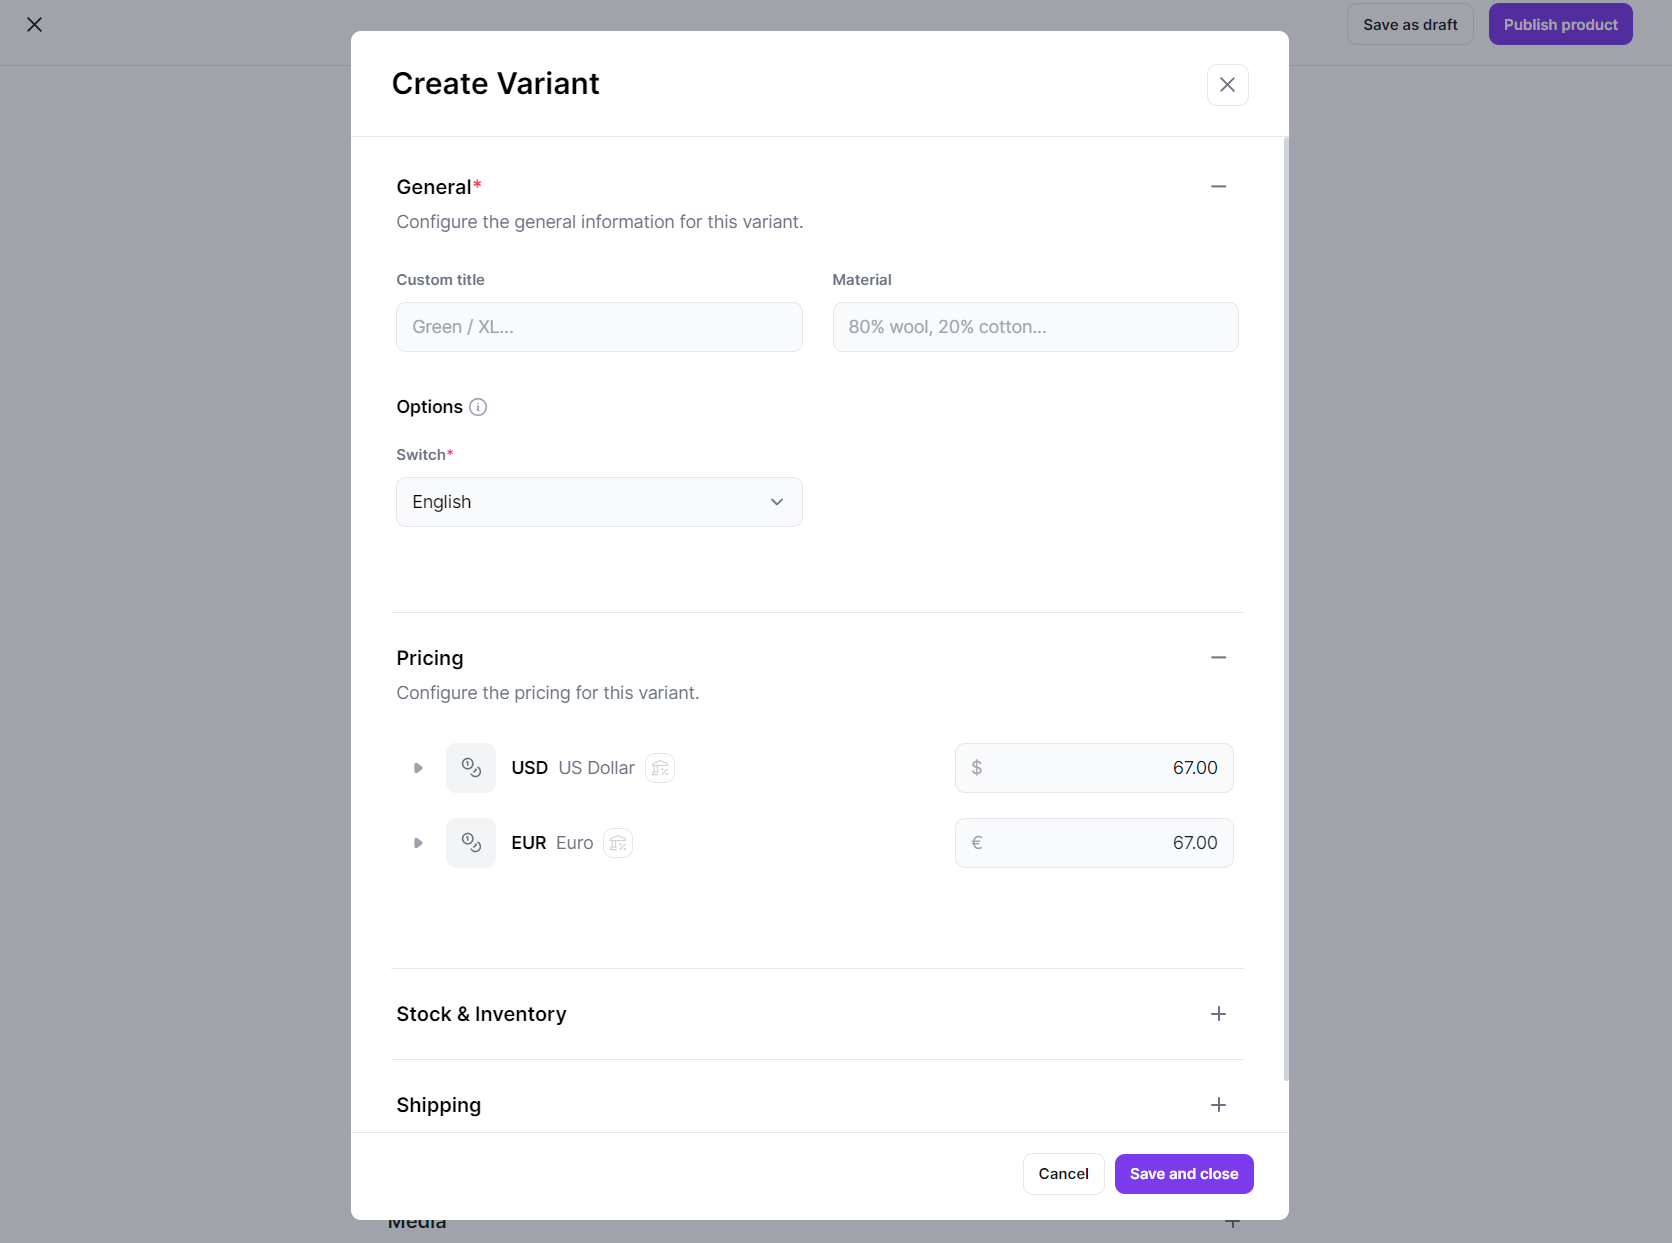
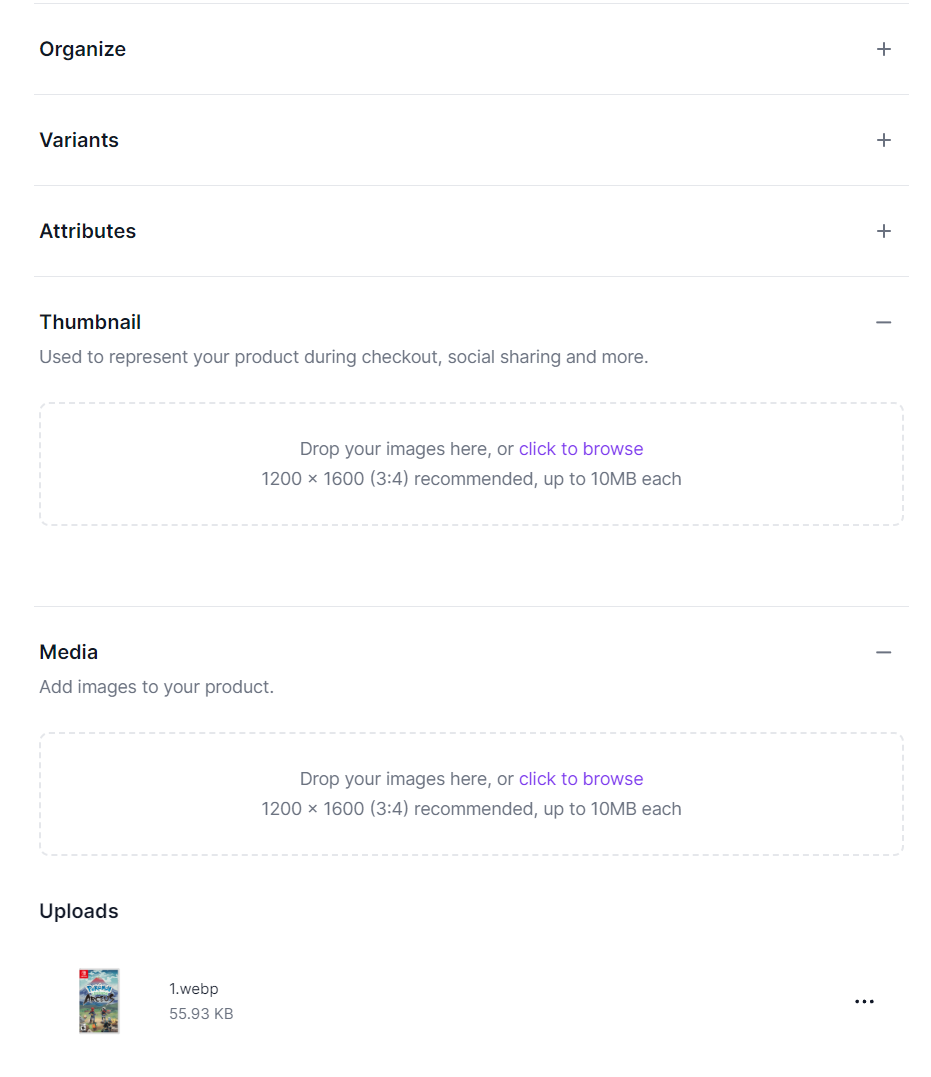
As you scroll down, you will see the 'Variants' section. Add a variant to specify your pricing, inventory and other relevant details as shown in the screenshot below.
Finally, add your media and thumbnails and click on 'Publish Product' on the top-right of the form.
You will immediately see that your product has been added to your product list!
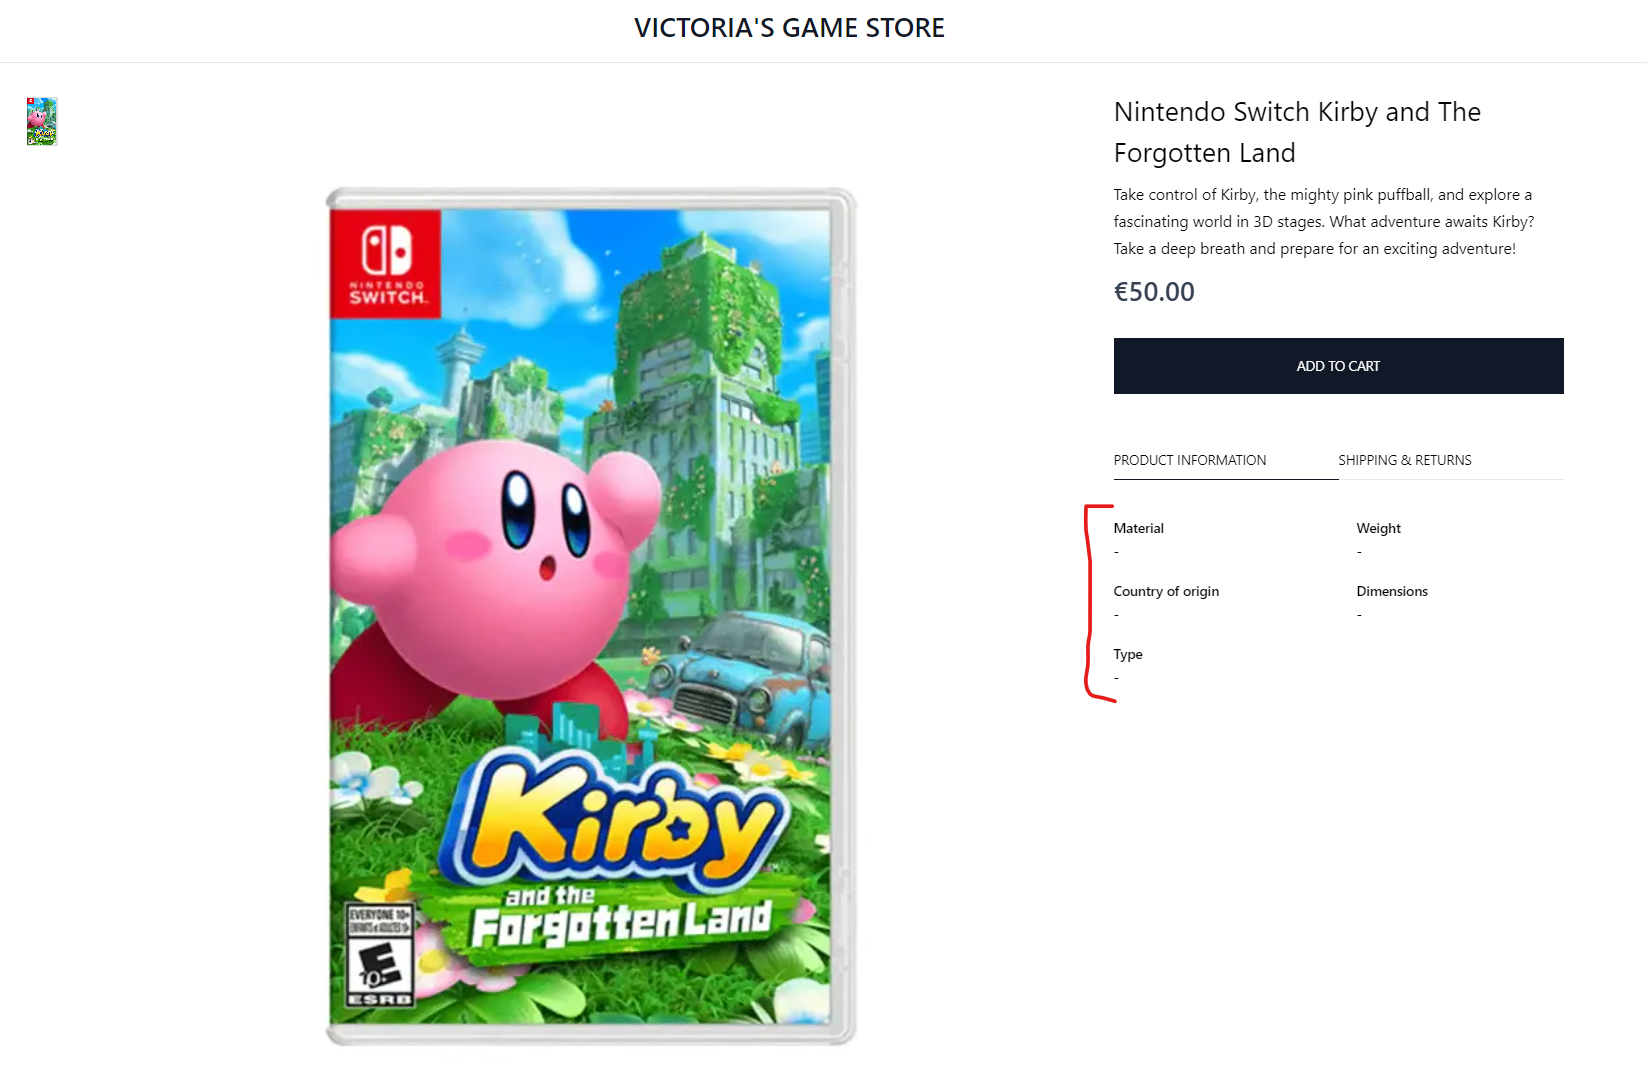
Continue to populate your website with your products, and you will soon have a complete e-commerce website thanks to Medusa! Check out my awesome game store!

Easy Frontend Customization
If you are familiar with Next.js, Medusa's storefront will be as easy to edit and customize as with any other Next.js templates.
For example, since this is a game store, let's say I do not want the product page to include a Product Information tab for Material, Weight, Dimensions, etc.
I can go into the storefront template and remove the client code that I do not wish to display.
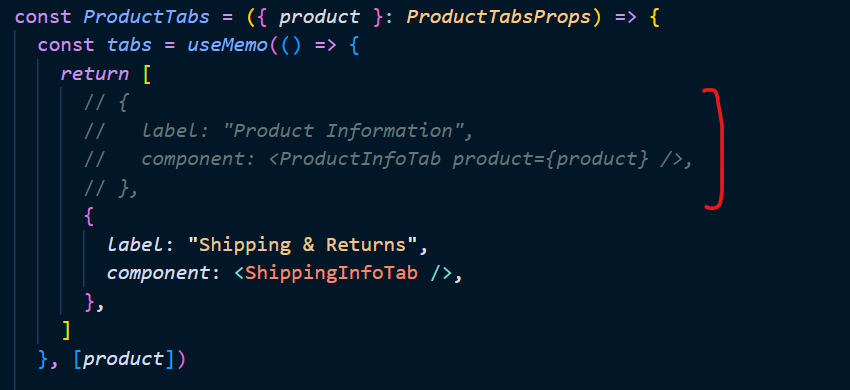
And once I save the file, the website will immediately reload with the new UI I desired.
There are endless customizations you can do with your Medusa storefront. For more information, visit the documentation.
Step 4: Add Payment Method
An e-commerce store would not be complete without a payment processor. Medusa also supports the integration of payment methods like PayPal or Stripe. Let's setup a PayPal as a payment method.
In our Medusa backend, we first install the package:
npm install medusa-payment-paypal
Next, we add the following env variable in our .env file.
PAYPAL_SANDBOX=true
PAYPAL_CLIENT_ID=<CLIENT_ID>
PAYPAL_CLIENT_SECRET=<CLIENT_SECRET>
PAYPAL_AUTH_WEBHOOK_ID=<WEBHOOK_ID>
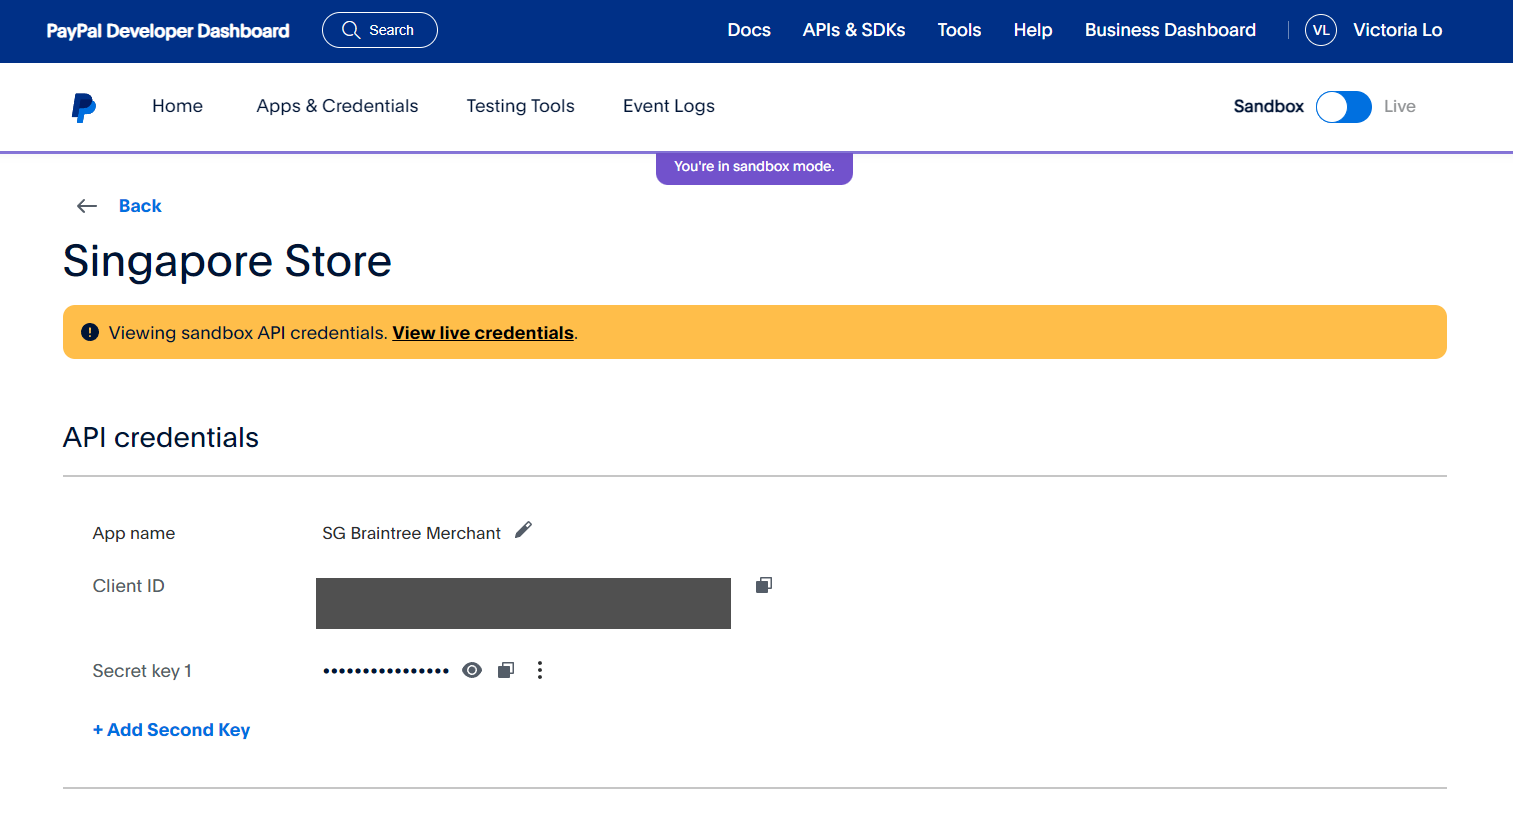
To get these credentials, you need to create a PayPal developer account. Then, you can create a sandbox account which you can copy the CLIENT_ID and SECRET .
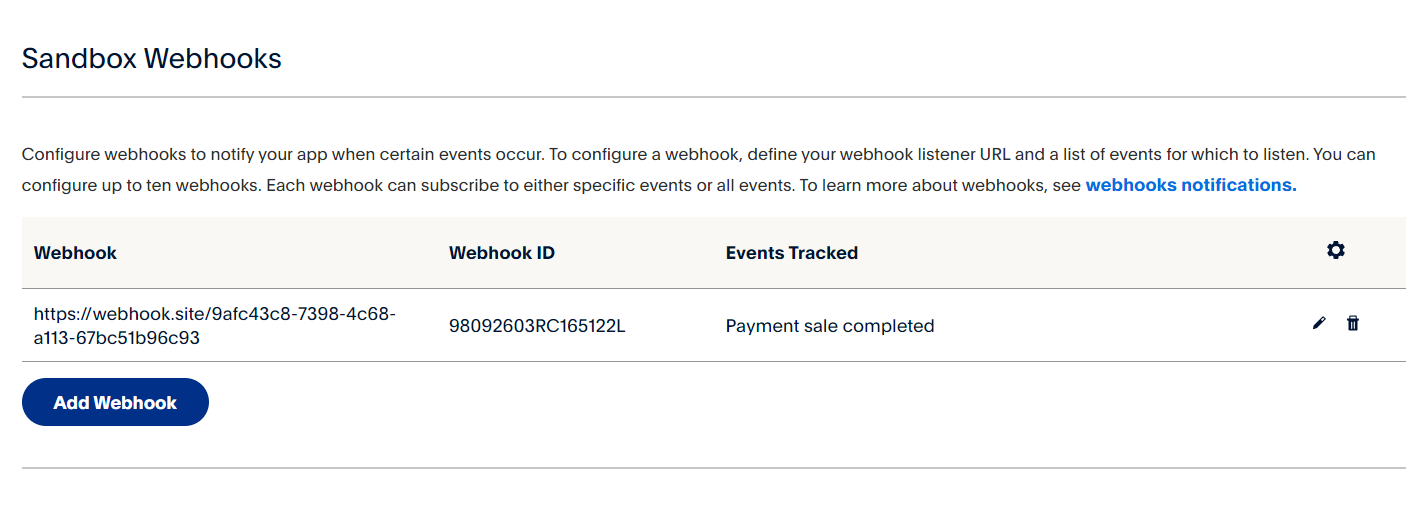
Finally, you can scroll down to add a webhook URL for your sandbox account. I recommend going to webhook.site for easy testing. Copy the WEBHOOK_ID value and paste it to the Medusa backend .env file.
Under medusa-config.js file, add the plugin as follows:
const plugins = [
  // other plugins...
  {
    resolve: `medusa-payment-paypal`,
    options: {
      sandbox: process.env.PAYPAL_SANDBOX,
      clientId: process.env.PAYPAL_CLIENT_ID,
      clientSecret: process.env.PAYPAL_CLIENT_SECRET,
      authWebhookId: process.env.PAYPAL_AUTH_WEBHOOK_ID,
    },
  },
]
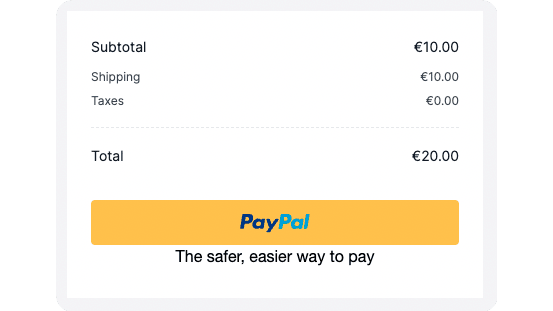
And you would have PayPal as a widely accepted payment method for your website!
For further reading, this documentation here explains in detail how to setup another payment methods for your store.
More features: Next.js-Powered Modules
In addition to the easy, fast, and customizable approach Medusa offers for creating a full-stack e-commerce website, Medusa also provides various Next.js-powered modules to help developers expedite the process of adding essential features to a shopping website.
For example, the latest Product module enables developers to manage products, organize product categories, and perform bulk import or export of products in CSV format, facilitating seamless data transfer between various e-commerce platforms.
More features: App Router Support
What makes Medusa stand out is its App Router support, which enables easy dynamic routing based on your data and enhances Server-Side Rendering (SSR) with React Server Components. This will enable your site to be more discoverable and SEO-friendly, boosting your visibility and your e-commerce business.
Not only is it a technically robust feature, but it also presents a compelling value proposition from a business standpoint.
Conclusion
In conclusion, Medusa is a powerful and flexible open-source e-commerce framework that simplifies the process of creating modern online retail platforms. By leveraging Medusa's customizable architecture, plugins, and Next.js integration, developers can quickly build high-performance, scalable, and user-friendly e-commerce websites tailored to their specific needs.
As a next step, consider exploring Medusa's extensive documentation, experimenting with different plugins and integrations, and customizing your e-commerce site to fit your unique brand and business requirements. Do refer to the References section below for further reading.
Thanks for reading and see you in the next article! Cheers!


