Build a Simple Discord Bot in Node.js for Beginners
Step-by-step tutorial on how to build your very first Discord bot!

Hello everyone! In this article, let's build a simple Discord bot with Node.js. This tutorial aims at beginners with zero knowledge on how to build a Discord bot.
To follow along, you need to have the following prerequisites:
- Code editor (i.e. VS Code)
- Basic knowledge in JavaScript
- Node and npm installed in your machine
- A Discord account and server set up
Step 1: Create an App in Discord
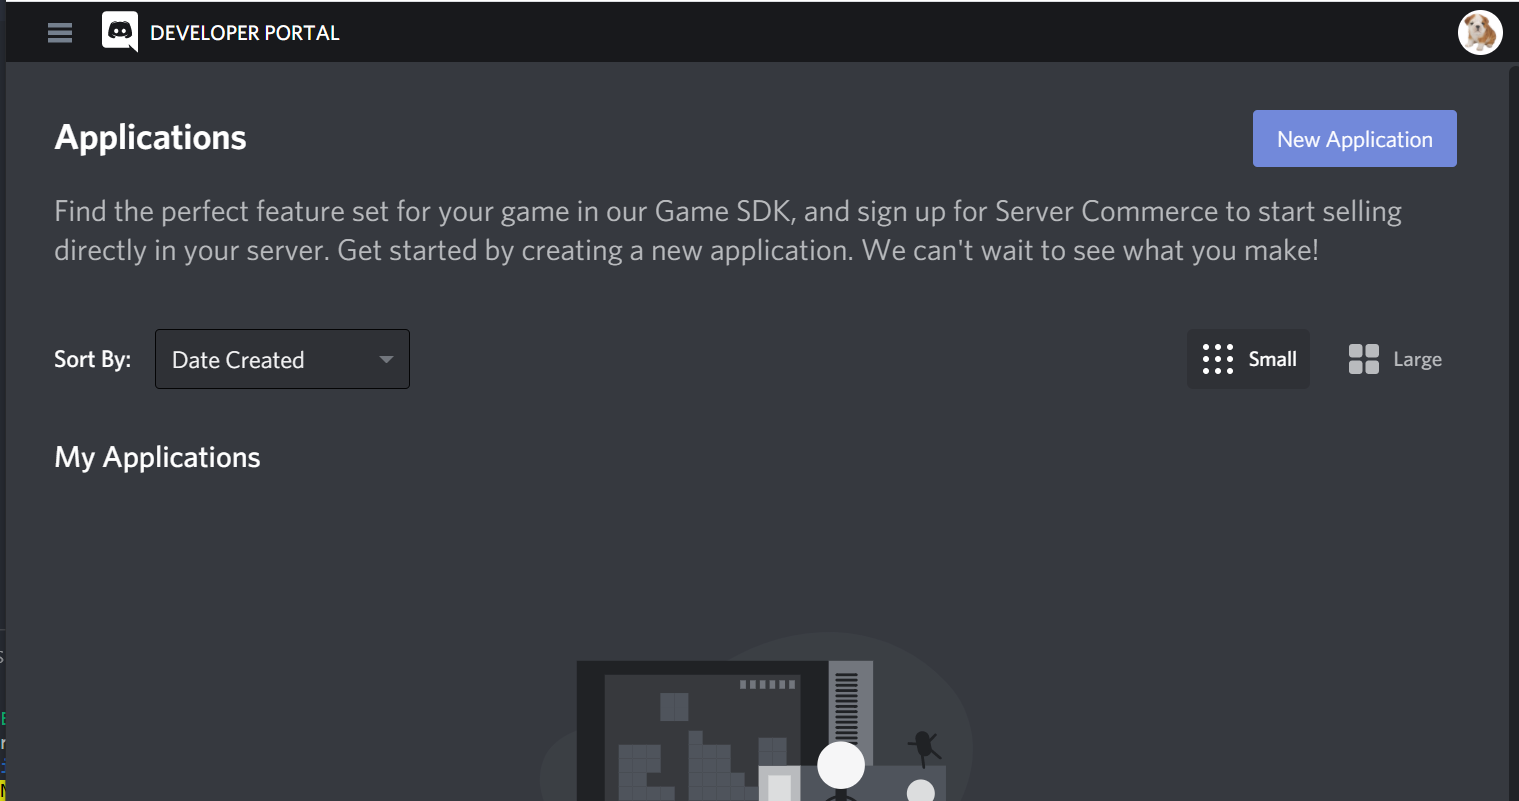
First, we need to create our bot as an app in Discord. Go to https://discord.com/developers and sign in or create a developer account.
Once you're logged in, click on 'New Application' at the top right of the window.

Then fill in the details of your app (i.e. name) and you will be taken to your app's dashboard. Navigate to 'Bot' and click 'Add Bot' to enable your app as a bot.

Now, you'll have your bot and see this section appear.

Click on 'Copy' to copy your token and save it somewhere, we'll need it for later.
Step 2: Install bot to server
Create a new Discord server with your Discord account to install the bot at.
Back at the App dashboard, navigate to 'OAuth2' and select 'bot' under the Scopes section.

You will see an URL being generated at the bottom. Copy this URL and paste it on a new tab. You will be redirected to the page as shown below:

Install this bot to your preferred Discord server. For example, mine is the MyBot server I just created.
If everything works correctly, your bot should now appear in your Discord server.

Step 2: Create Project Folder
Now let's make this bot work! Create a new project with the following terminal commands:
mkdir discordBot
cd discordBot
npm init
This will create a simple Node.js project in your 'discordBot' folder.
Step 3: Install packages
Now we need to install the npm packages for this project. Run this command below:
npm install discord.js axios dotenv
The packages we have installed are:
discord.js: a Node.js module to allow easy interactions with the Discord API.axios: allows making HTTP Promises easily with Node.js.dotenv: allows loading variables from process.env in Node apps.
Step 4: index.js
In our project directory, run:
touch index.js
This will create an index.js file, where our bot functions will be written at.
If you see the bot installed in your server, it is currently offline. The first thing we need to do to code our bot is creating a discord bot client and log our bot in.
Import the discord.js package and create a new client like so:
require('dotenv').config(); //initialize dotenv
const Discord = require('discord.js'); //import discord.js

const client = new Discord.Client(); //create new client

client.on('ready', () => {
  console.log(`Logged in as ${client.user.tag}!`);
});

//make sure this line is the last line
client.login(process.env.CLIENT_TOKEN); //login bot using token
Remember the token we copied in Step 1? Create an .env file and store the token there.
In your .env file:
CLIENT_TOKEN='your token here'
Great, now if we run the command below, our bot should go online:
node index.js

The bot status has changed to online.
Step 5: Writing your first bot command
Let's write a very simple bot command: when we type ping, the bot will reply us with "Pong!".
It is as simple as:
client.on('message', msg => {
  if (msg.content === 'ping') {
    msg.reply('Pong!');
  }
});
Add this code block above your client.login(process.env.CLIENT_TOKEN); line and if you run node index.js again, your bot should reply you when you type ping.

Great! And there you go, you have written your first bot command!
Step 6: Fetching from an API + Sending Images
A bot that just replies "Pong!" whenever you type ping is not very useful, isn't it? Let's take it up a notch by asking the bot for an image. How about a meme, for example?
We can type "meme" and the bot will fetch a meme from an API and send us a random meme!
For best practice, bot commands usually start with an exclamation mark so let's make it "!meme" instead to instruct the bot for a meme.
For the API, we can use this simple one by jaychandra6. Upon the API call, it will return a data object with the following structure:
{
  memes: [
    {
      author: 'NaveenTheBean',
      nsfw: false,
      subreddit: 'memes',
      title: 'Have a Snickers',
      upvotes: 15122,
      url: 'https://i.redd.it/tde2okjfyaz61.jpg'
    }
  ]
}
We want the bot to send us the url property of this data, and it will appear as an image in Discord.
So let's create a function to get a meme. We'll call it getMeme(). Here's what it looks like in index.js:
//add this function below client.on('message' ...
async function getMeme(){
  const res = await axios.get('https://memeapi.pythonanywhere.com/');
  return res.data.memes[0].url;
}
Don't forget to import axios at the top of the file:
const axios = require('axios'); //add this line at the top
Now we can re-write our client.on('message'... block with our new !meme command:
client.on('message', async msg => {
  switch (msg.content) {
    case "ping":
      msg.reply("Pong!");
      break;
    //our meme command below
    case "!meme":
      msg.channel.send("Here's your meme!"); //Replies to user command
      const img = await getMeme(); //fetches an URL from the API
      msg.channel.send(img); //send the image URL
      break;
   }
})
To keep our code clean, let's use switch-case statements instead of if blocks.
As seen in the code above, when a user types !meme, the bot will first send "Here's your meme!" then fetches the image URL by calling the getMeme() function. Finally, once the URL is retrieved, the bot will send it using msg.channel.send(img).
When running the bot, it should work like below:

Step 7: Sending repeated messages
Let's add another cool command to our bot! How about we have our bot send us automated messages at set intervals?
Do you know that looking at screens for more than an hour can cause eye strain and fatigue over time? For our hardworking developers, let's make our bot remind us to take an eye break every hour.
Let's create an !eye command to allow a user to subscribe to eye reminders.
let interval;

client.on('message', async msg => {
  switch (msg.content) {
   //other commands above here...
   case "!eye":
      msg.channel.send("You are now subscribed to eye reminders.");
       interval = setInterval (function () {
        msg.channel.send("Please take an eye break now!")
        .catch(console.error);
      }, 3600000); //every hour
      break;
  }
})
Using setInterval, now the bot will send an eye reminder every hour. Let's test this in 3-second intervals instead.

Perfect, it works! But it doesn't make sense to let the bot incessantly send us those reminders right? What if we want it to stop?
Let's create a !stop command to do that. We simply use clearInterval() to do that.
If you are not sure about setInterval and clearInterval methods, please visit this site to read more about it.
So here's our !stop command:
//add this below the !eye case block
   case "!stop":
      msg.channel.send("I have stopped eye reminders.");
      clearInterval(interval);
      break;
And it should work properly like below:

Conclusion: There's more!
There's way more amazing things you can do with a Discord bot! Even ones that uses databases and so on. Feel free to explore the Discord Developer documentation and the discord.js documentation to learn more and build your own dream bot.
Thanks for reading. I hope this has been a helpful introduction to how you can build your own Discord bot. If it's helpful, do leave a like or share this article around for more reach.
For more information, please browse the Resources section below or see the code in this tutorial at https://github.com/victoria-lo/discordBot.
If you have build an awesome Discord bot, please share it in the comments below. I would love to check it out! Cheers!
Resources
- https://discord.com/developers/docs/intro
- https://discord.js.org/
- https://www.npmjs.com/package/axios
- https://www.npmjs.com/package/dotenv
- https://github.com/jaychandra6/MemeAPI


